Now that we know how to speed the object up and down, let’s add some keyboard inputs.
in “def_update()”, we’re gonna add a module called “held_keys”. This will let you use any key you want on your keyboard (or your mouse keys) to control objects and entities on the screen.
def update():
    if held_keys['a']:
        test_square.x -= 1 * time.dt
You’ll also need to indent “test_square” for it to work (as shown above).
Now if we run it, we’ll be able to move the square by pressing “A” on the keyboard.
ADDING IMAGES IN URSINA
We now have our object and a way to move it. Now let’s add a picture. The picture will also need to be and entity (and will also be a square, or “quad” in this case).
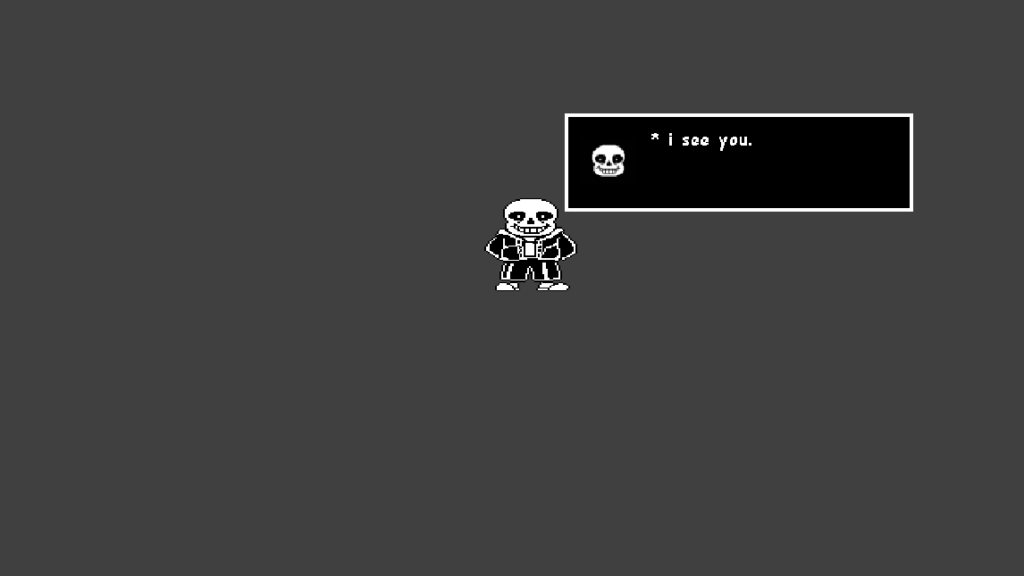
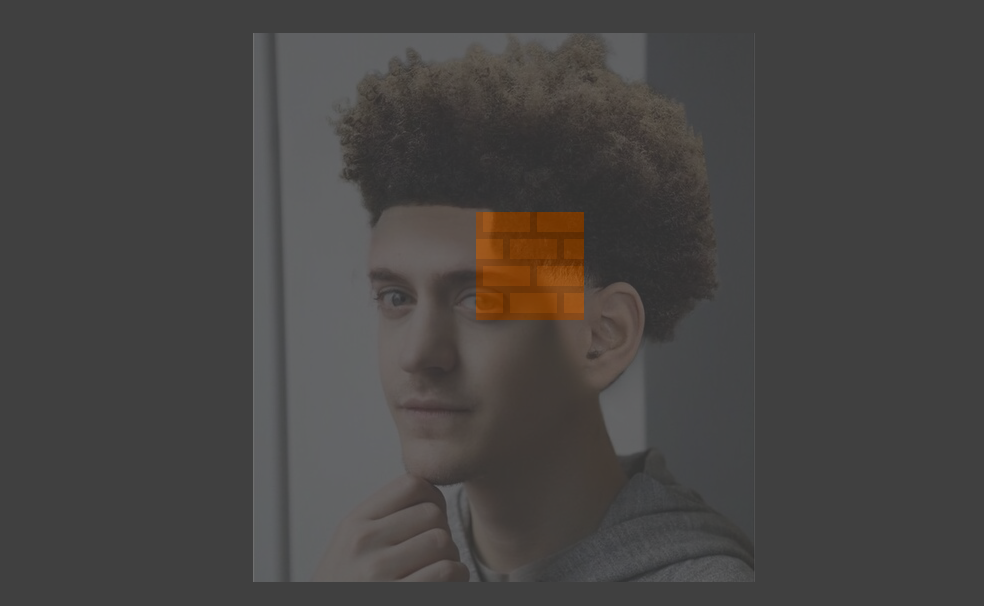
We’re gonna call this entity “sans” (the short skeleton guy from Undertale that is probably the hardest character to go against in a Genocide run.)
sans = Entity(model = 'quad', texture = sans_texture)
Before we can see sans on the screen, we must make a texture. This will be simply called ‘sans_texture”, which will need an image (this will just be called “Sans.png”. You can store this in a folder if you want.)
sans_texture = load_texture('assets/Sans.png')
NOW we can run the program and see sans staring into your soul.
He can smell you.
*You also could just pass the “assets/Sans.png” instead of making a variable for it, and it’ll generate the same thing (unless you’re an overachiever and like doing things the difficult way).
sans = Entity(model = 'quad', texture = 'assets/Sans.png') #<- like this
CREATING 3D OBJECTS IN URSINA
Now, in an actual game, you’d want more control over all these things, so the code above is usually made to create simple images. To create more complex images, you’ll need to create a class for it, which we will do now.
Let’s make a cube. For this, we’ll make a class called “Test_cube” (I know, again, so creative). In it, we need it to inherit from something, which well be called “Entity”.
class Test_cube(Entity):
Inside the class, we need and “def __init__()” method so we can call our variables (there’s a reason why we need this, but I forgot why and don’t feel like looking it up). We’ll also need “super().__init__()” in order to call some attributes for the cube (model, color, texture, etc…).
class Test_cube(Entity):
    def __init__(self):
        super().__init__(
            model = 'cube',
            color = color.white,
            texture = 'white_cube'
        )
*Put this towards the top of your program btw (or don’t. I’m not your boss).
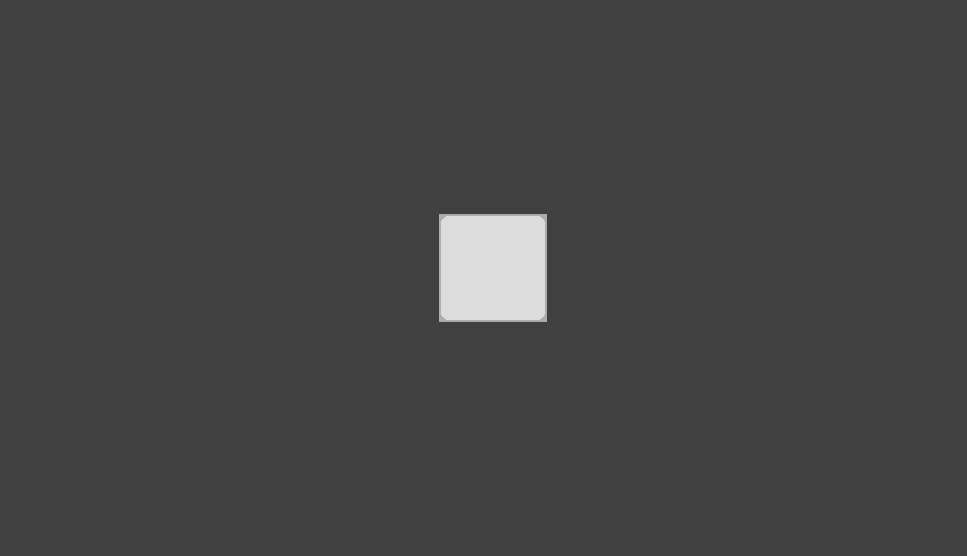
Now, we just need to call it, and it’ll show up on the screen when we run the program.
test_cube = Test_cube()
It doesn’t look 3D, but that’s because we haven’t added any rotation yet. In order to do that, we’ll add a rotation argument.
class Test_cube(Entity):
def __init__(self):
super().__init__(
model = 'cube',
color = color.white,
texture = 'white_cube',
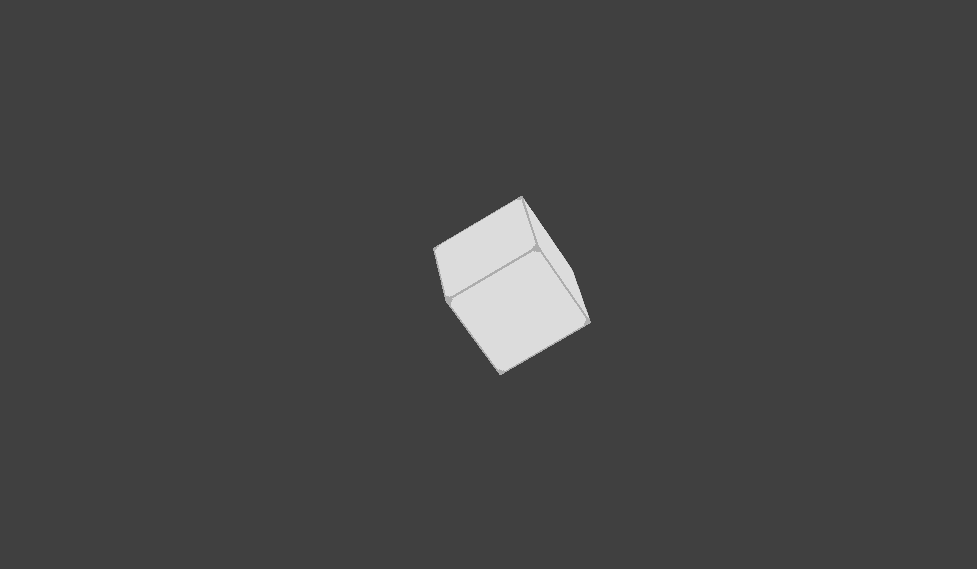
rotation = Vec3(45, 45, 45)
)
If we run the code, the cube should be rotated 45°.
*SO flipping cool.
You can also add images as a texture to a 3D object, like you can with a 2D object.
*Only terminally online people will get this reference
CREATING BUTTONS IN URSINA
We’ve covered a lot of stuff in this, but before we make an actual game (yes, this is just the basics of Ursina), we need to create a button. Buttons work slightly differently (not really).
To create a button, you have to create a class. This’ll be called “Test_button”. This will inherit from the class “Button” itself (which is already in Ursina, we don’t have to make a class called “Button”, same with “Test_cube”).
We will also add a “def__init__” method and a “super().__init__()” method in the class (where we’ll add some attributes in it too).
class Test_button(Button):
    def __init__(self):
        super().__init__(
            model = 'cube',
            texture = 'brick',
            color = color.orange
        )
NOTE: MAKE SURE TO COMMENT OUT “test_cube = Test_cube” OR ELSE IT’LL BE IN THE WAY!!!
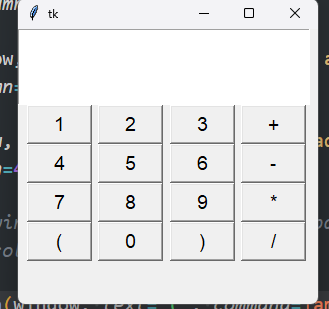
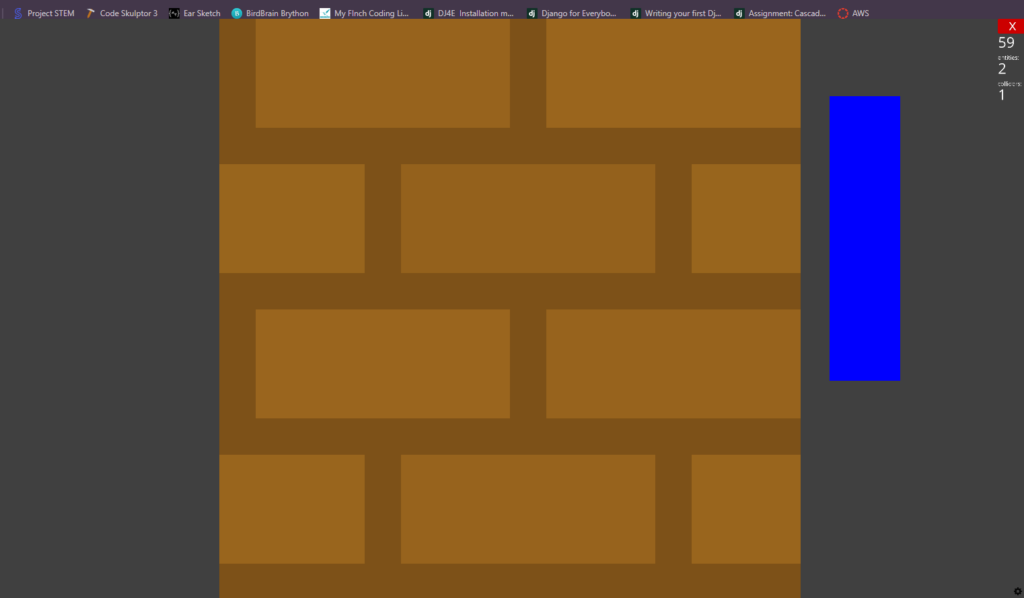
If we run it, we’ll have a GIANT orange brick button created at the center of the screen.
test_button = Test_button()
*You’re able to press it, but it doesn’t do anything except light up and stuff.
Now, the problem with this is that the button is significantly larger than “test_cube”. In order to fix this, we need the “parent” argument for the button. In the parent argument, we need the “scene”, which is the game scene itself (I tried to find some information on what the parent argument doe and what a scene is, but I was left empty-handed…)
class Test_button(Button):
    def __init__(self):
        super().__init__(
            parent= scene,
            model = 'cube',
            texture = 'brick',
            color = color.orange
        )
If we run it, the button won’t absolutely massive anymore (massive?).
Ursina is an easy-to-use, open source 3D game engine that can run better than Pygame. Since Pygame has some issues with frame-rate, poor performance, and is not the best when making games with 3D capability, I won’t be using it (for this project). This is 3D games-wise, though. Pygame is still better and MUCH easier to use when making simpler looking games. Ursina only needs a few lines of code to really make a game, and is beginner friendly when making a 3D program. However, like Pygame, it does have some bugs that come with it such as player model issues, blend files unable to load, and collider issues when making a player model. Unfortunately, Ursina isn’t available for MacOS (you can use Panda3D though, which is available for MacOS and Windows).
Besides these issues, Ursina is quite powerful and a good option for a 3D game engine for beginners. Now, let’s get started.
INTRO TO URSINA
First and possibly the most obvious step is to install Ursina.
Open your terminal in whatever code editor you use and type in “pip install Ursina”
pip install Ursina
We’re now able to start coding. first import all objects of Ursina using the * character.
from ursina import *
Now, we must create an instance of the game. You can name this whatever you’d like, but for this it will be named “app” (I know, so creative).
app = Ursina()
*Make sure to add parenthesis at the end or the code will yell at you ( I learnt this the hard way numerous times).
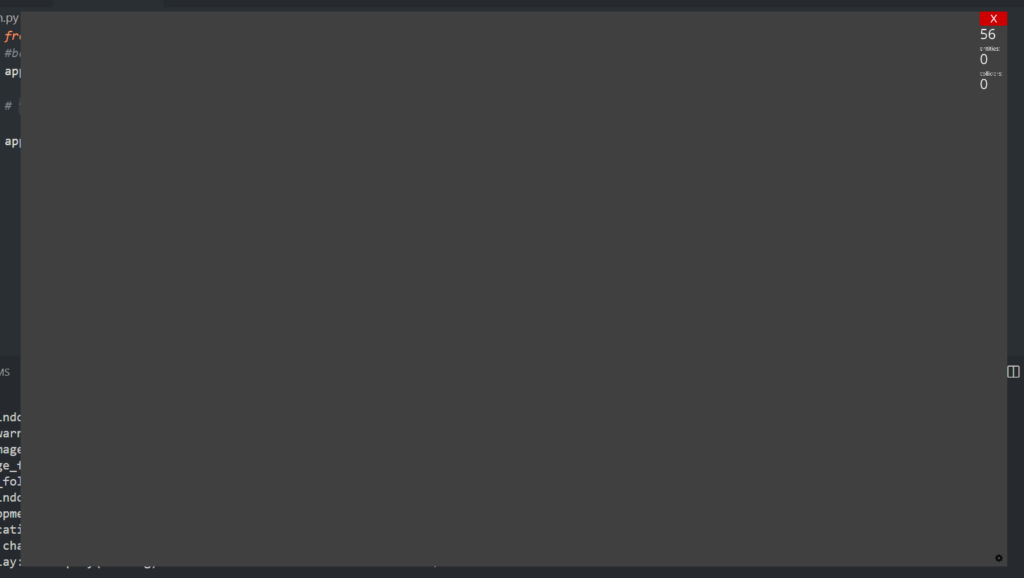
Now, lets run it. This will create the interface where the game will be displayed.
from ursina import *
app = Ursina()
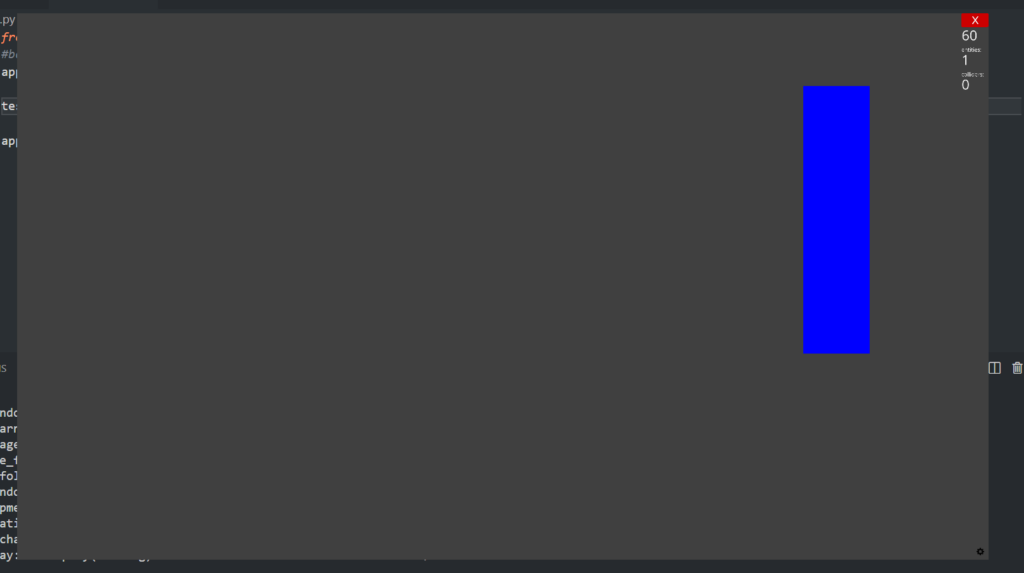
app.run()
* If you thought that it would look like something such as unity or unreal engine, remember that we are using Python, not C# or C++ lol.
The astronomically microscopic numbers on the top right-hand corner of the screen shows the frame rate, the number of entities on the screen, and the number of collisions.
OBJECTS IN URSINA
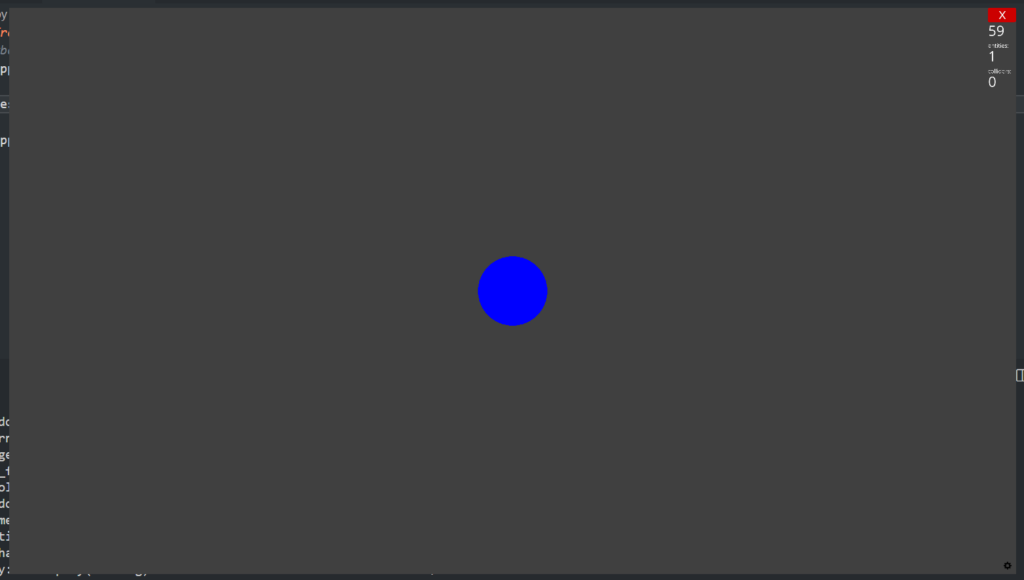
Lets add an entity, which is a base object for anything in Ursina. This can be anything, like a square, a circle, a cube, etc… Anything you see on the screen will count as an entity. It will be automatically added to the game, rather than calling it in a loop. An entity doesn’t need a color (it will default to white if no color is stated).
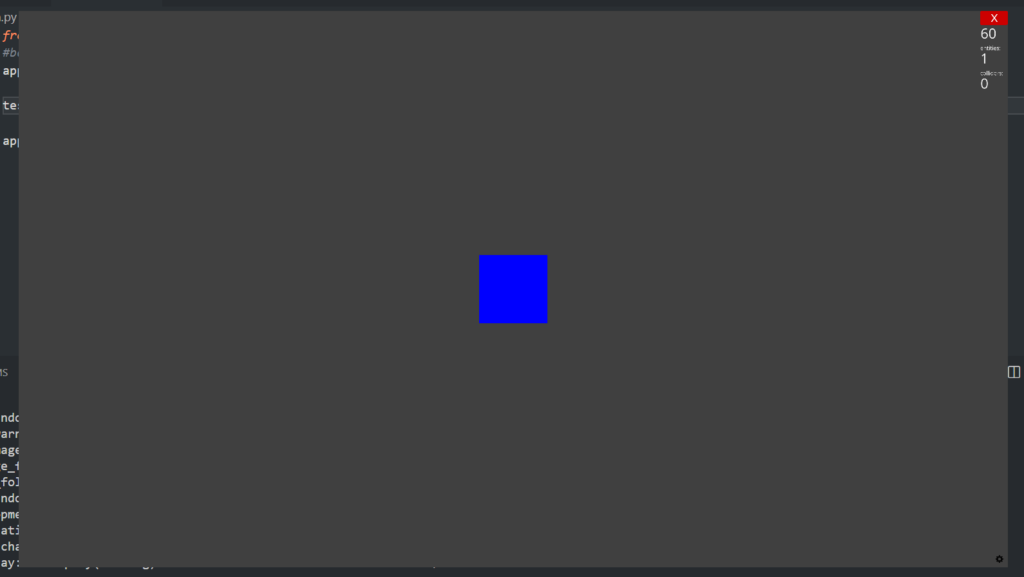
This will change the circle into a square which it known as a “quad” in Ursina.
* You are able to add 3D objects like cubes, but since we’re looking at only one side at the moment, it’s kind of redundant to call a 3D object at the moment. We’ll get to that later, though.
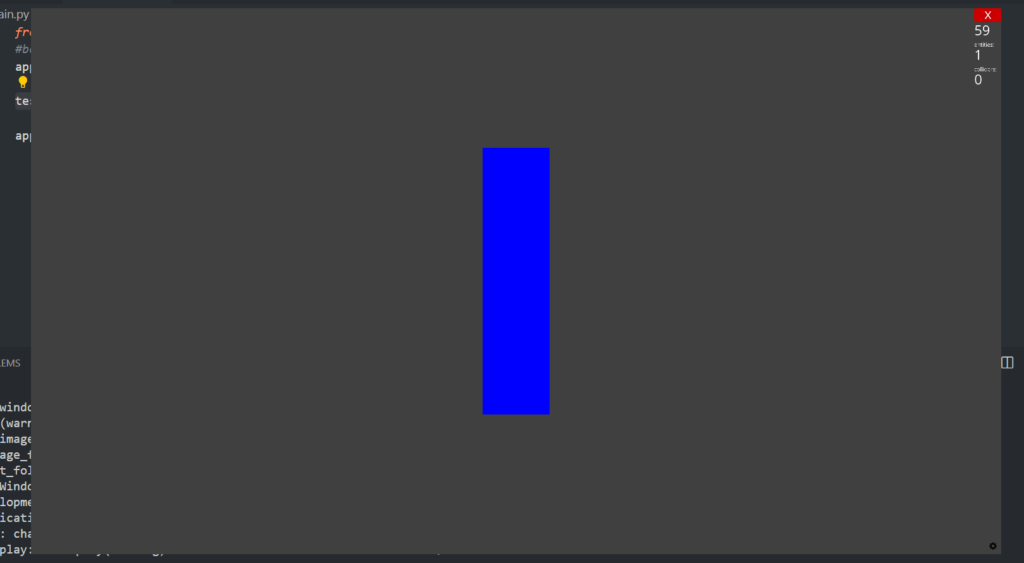
You can also scale the entity by passing a number for the x and y axies.
In this instance, the 1 is how wide the entity will be, and the 4 is how long.
You can also change the position of the entity. It uses the same way we changed the scale of the entity, but this time we use “position” (or “pos” if you’re too lazy to write the whole word out).
This will move the square up 1 unit and right 5 units.
It should be obvious, but the center of the screen is the origin point (0,0). Making the y-axis positive or negative will scale or move the entity up or down, same with the x-axis (I know this is obvious but this 3D engine is interesting and fun to mess around in).
Now, lets make a function to move the entity. You will simply call the object you want to move in the function, the axis you wish to change, and how fast it will move.
def update():
    test_square.x -= 1
This will move the entity to the left at a speed of 1. Now, that may sound slow, but watch this:
Don’t blink or you’ll miss it lol
Now obviously we need to slow it down, so we’ll use “time.dt”. This will be multiplied by the speed at which the object is going, and will adjust to any frame-rate.
The “play_text2” will have “Playing” or “Pausing” shown on screen when the “Play/Pause” button is pressed.
So… we made the button show up on screen, but we haven’t made it actually work yet.
Down into where the buttons pressed on your keyboard are called, make a new event type of ‘MOUSEBUTTONUP”. This will make the program able to play and pause when the button is clicked.
if event.type == py.MOUSEBUTTONUP:
            if play_pause.collidepoint(event.pos):
                if playing:
                    playing = False
                elif not playing:
                    playing = True
Plaster the background color from “settings.py” and update it to the screen in “def render()”
 self.ctx.clear(color=BG_COLOR)
        pg.display.flip()
In “def handle_events()”, make a for loop that checks if the player has clicked the “x” on the window or the down arrow key and the “escape” key (Esc) and will turn “is_running” to be false, which closes the window.
def handle_events(self):
        for event in pg.event.get():
            if event.type == pg.QUIT or (event.type == pg.KEYDOWN and event.key == pg.K_ESCAPE):
                self.is_running = False
Initialize all functions in “def run()”.
def run(self):
        while self.is_running:
            self.handle_events()
            self.update()
            self.render()
        pg.quit()
        sys.exit()
and this too for the code to actually work 🙂
if __name__ == '__main__':
    app = VoxelEngine()
    app.run()
def main(window):
    clock = py.time.Clock()
    run = True
    while run:
        clock.tick(FPS)

        for event in py.event.get():
            if event.type == py.QUIT:
                run = False
                break
        draw(window)

    py.quit()
Sets a random laser type (Horizontal is “0”, vertical is “1”) then sets the offset for how far it should be on the screen.
It then sees if the line is 0 or 1, then gives it a random height and offset and draws it on the screen (which is in the draw_screen function).
def draw_screen code for lasers:
# Using x values to stop lasers from moving if paused
lase[0][0] -= game_speed
lase[1][0] -= game_speed

    #drawing the laser lines on the screen

lase_line = py.draw.line(screen, "yellow", (lase[0][0], lase[0][1]), (lase[1][0], lase[1][1]), 10) #puts laser line on the screen
    py.draw.circle(screen, "yellow", (lase[0][0], lase[0][1]), 12) # top laser ball
    py.draw.circle(screen, "yellow", (lase[1][0], lase[1][1]), 12) # botton laser ball
Added an if statement in main loop. Will generate a laser if there isn’t one on already on the screen (also added laser variables to draw_screen()).
main loop:
if new_laser:
        laser = gen_laser()
        new_laser = False
    lines, top_plat, bottom_plat, laser, laser_line = draw_screen(lines, laser)

 if laser[0][0] <0 and laser[1][0] <0:
        new_laser = True
RESULT:
(Also added collision but I forgot to record it ;-;)
check_colliding(for the lasers):
 if laser_line.colliderect(player):
        rstrt = True
ADDED A RESTART FUNCTION WHEN COLLIDING WITH AN OBJECT
Made a restart global variable that is false on default.
restart_cmd = False
Made a separate restart local variable in check_colliding() which is also false by default.
check_colliding:
rstrt = False
Returns the restart variable when check_colliding() is finished.
check_colliding:
return coll, rstrt
Added restart_cmd with check_colliding in main loop.
main loop:
colliding, restart_cmd = check_colliding()
Created an if statement that resets everything if the player hits an object.
MADE COLLISION AND GRAVITY FOR THE JETPACK TO WORK!!!!!
Added a y velocity and gravity for the player and jetpack.
y_vel = 0

grav = 0.2
made a if statement for the jetpack to work
if not pause:
        if booster:
            y_vel -= grav
            #makes player go up when pressing button
        else: y_vel += grav

        if (colliding[0] and y_vel > 0) or (colliding[1] and y_vel < 0):
            y_vel = 0
        #makes player go down when not pressing button
        player_y += y_vel
if the player presses the key down, the y vel will become negative, causing the player to go up (- gravity). if the player lets go of the key, the y vel will become positive, causing the player to go down (+ gravity).
colliding is a function to check_colliding. colliding[0] is the top of the game’s screen, and colliding[1] is the bottom. when the player goes up. check_colliding will check if the player has reached the top, and will add collision. Same thing will happen to the bottom of the screen.