FULL code (so far)
#Jetpack Joyride in Python
import random
import pygame as py
py.init()
WIDTH = 1000
HEIGHT = 600
screen = py.display.set_mode([WIDTH, HEIGHT])
surface = py.Surface((WIDTH, HEIGHT), py.SRCALPHA)
py.display.set_caption("Jetpack Joyride Remake")
FPS = 60
timer = py.time.Clock()
font = py.font.Font('freesansbold.ttf', 32)
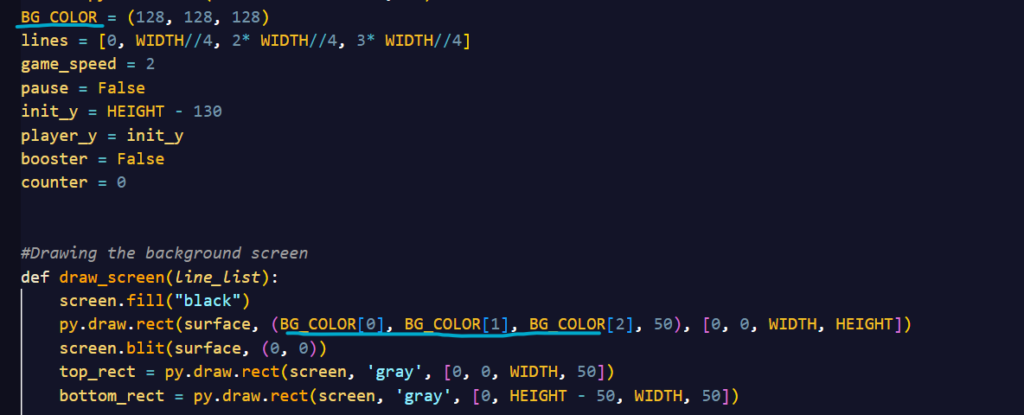
BG_COLOR = (128, 128, 128)
lines = [0, WIDTH//4, 2* WIDTH//4, 3* WIDTH//4]
game_speed = 2
pause = False
init_y = HEIGHT - 130
player_y = init_y
booster = False
counter = 0
#Drawing the background screen
def draw_screen(line_list):
screen.fill("black")
py.draw.rect(surface, (BG_COLOR[0], BG_COLOR[1], BG_COLOR[2], 50), [0, 0, WIDTH, HEIGHT])
screen.blit(surface, (0, 0))
top_rect = py.draw.rect(screen, 'gray', [0, 0, WIDTH, 50])
bottom_rect = py.draw.rect(screen, 'gray', [0, HEIGHT - 50, WIDTH, 50])
#making the infinite lines on the screen
for i in range(len(line_list)):
py.draw.line(screen, 'black', (line_list[i], 0), (line_list[i], 50), 3)
py.draw.line(screen, 'black', (line_list[i], HEIGHT - 50), (line_list[i], HEIGHT), 3)
if not pause:
line_list[i] -= game_speed
if line_list[i] < 0:
line_list[i] = WIDTH
return line_list, top_rect, bottom_rect
#Dawing the player and animated states
def draw_player():
player_hitbox = py.rect.Rect((120, player_y + 10), (25, 60)) # Player' hitbox
if player_y < init_y or pause:
if booster:
py.draw.ellipse(screen, 'red', [100, player_y + 50, 20, 30])# overall body of the flame
py.draw.ellipse(screen, 'orange', [105, player_y + 50, 10, 30])# detail
py.draw.ellipse(screen, 'yellow', [110, player_y + 50, 5, 30])# also detail
py.draw.rect(screen,'#ffca69', [128, player_y + 60, 10, 20], 0, 3)#ligher leg
py.draw.rect(screen,'#ffa600', [130, player_y + 60, 10, 20], 0, 3)#darker leg
else:
#drawing the animated legs
if counter < 10:
py.draw.line(screen, '#ffca69', [128, player_y + 60], [140, player_y + 80], 10)#lighter leg
py.draw.line(screen, '#ffa600', [130, player_y + 60], [120, player_y + 80], 10)#darker leg
elif 10 <= counter < 20:
py.draw.rect(screen,'#ffca69', [128, player_y + 60, 10, 20], 0, 3)#ligher leg
py.draw.rect(screen,'#ffa600', [130, player_y + 60, 10, 20], 0, 3)#darker leg
elif 20 <= counter < 20:
py.draw.line(screen, '#ffca69', [128, player_y + 60], [120, player_y + 80], 10)#lighter leg
py.draw.line(screen, '#ffa600', [130, player_y + 60], [140, player_y + 80], 10)#darker leg
else:
py.draw.rect(screen,'#ffca69', [128, player_y + 60, 10, 20], 0, 3)#ligher leg
py.draw.rect(screen,'#ffa600', [130, player_y + 60, 10, 20], 0, 3)#darker leg
# Player's body
py.draw.rect(screen, 'white', [100, player_y + 20, 20, 30], 0, 5) # Player's jetpack
py.draw.ellipse(screen, '#ffa600', [120, player_y + 20, 20, 50]) # Player's main body
py.draw.circle(screen, '#ffa600', (135, player_y + 15), 10)# Player's head
py.draw.circle(screen, 'black', (138, player_y + 12), 3)# Player's head
return player_hitbox
# Main loop
run = True
while run:
timer.tick(FPS)
if counter < 40:
counter += 1
else:
counter = 0
lines, top_plat, bottom_plat = draw_screen(lines)
player = draw_player()
for event in py.event.get():
if event.type == py.QUIT:
run = False
py.display.flip()
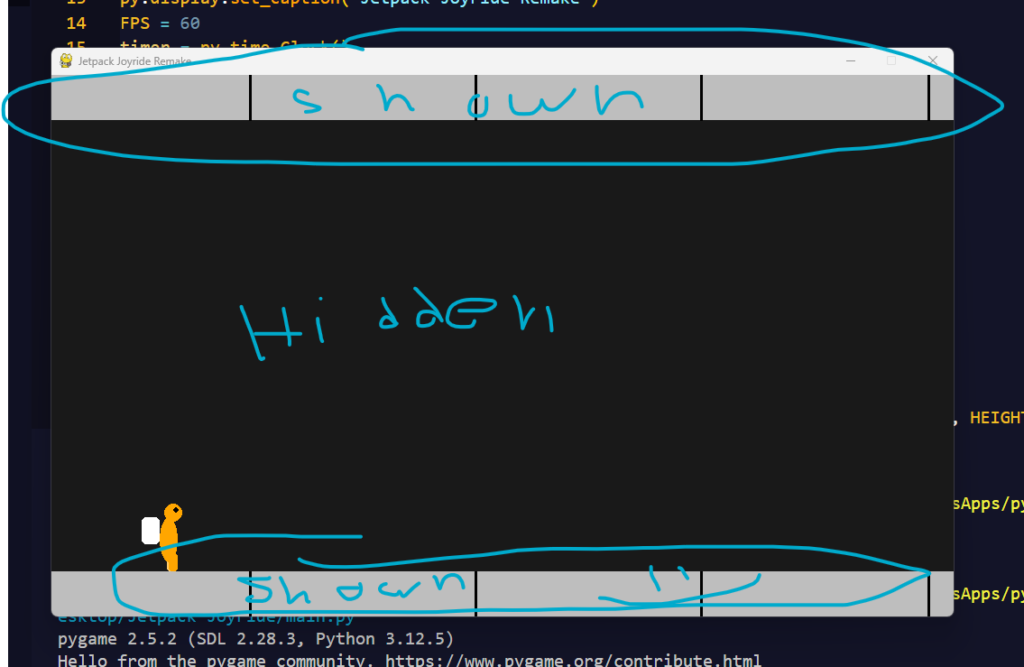
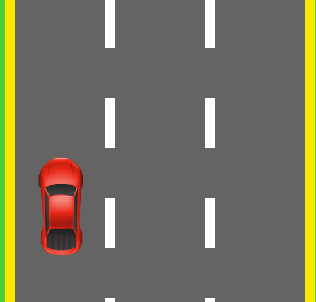
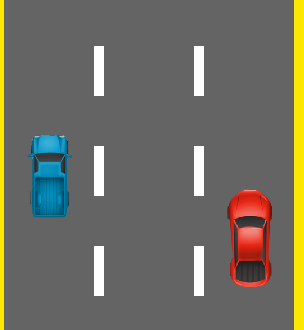
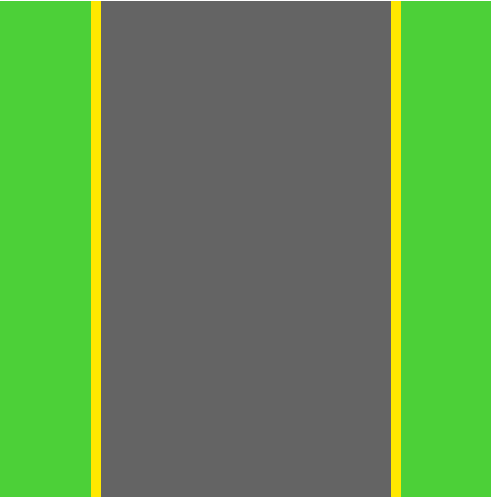
py.quit()DRAWING THE BACKGROUND SCREEN (and making the lines)!!!
“BG_COLOR” is the gray rectangle at the top and bottom of the screen evenly separated by the lines. They are then made to be transparent where the player and obstacles are going to be placed.