I didn’t actually try to do a project today but I did watch a few videos on how to make a FPS 3D game in Unity. It explained the basics on how to make the player rig, and the different components to make the player rig be able to be controlled. It also explained the basic movement for the player rig, how to connect them to VS code in Unity, and rigging components together to make the player rig moveable.
That’s the farthest I got since I decided it would be a splendid idea and go do other errands… I promise to actually work on something next Friday :D.
This year went by FAST. Quicker than sophomore year and MUCH quicker than freshman year. I honestly don’t know what things we did this year that I liked the most. I did like learning about JavaScript and using it to make websites in the backend, even though it was pretty confusing. I do like messing around in the frontend more than the backend because it gives me more freedom, but the backend makes your website POP in a way that the frontend doesn’t. IDK I know there’s tons of other stuff we’ve done this year but my mind has forced me to not remember maybe because of how stressful and frustrating it was, but that’s how it is with coding. I kinda enjoyed this year. I just hope senior year is just as fun ;-;.
for row in range(rows + 1):
            y = origin_offset.y + row * TILE_SIZE
            pygame.draw.line(self.display_surface, LINE_COLOR, (0,y), (WINDOW_WIDTH,y))
Same as x, but it makes lines horizontal from the left to the right of the window
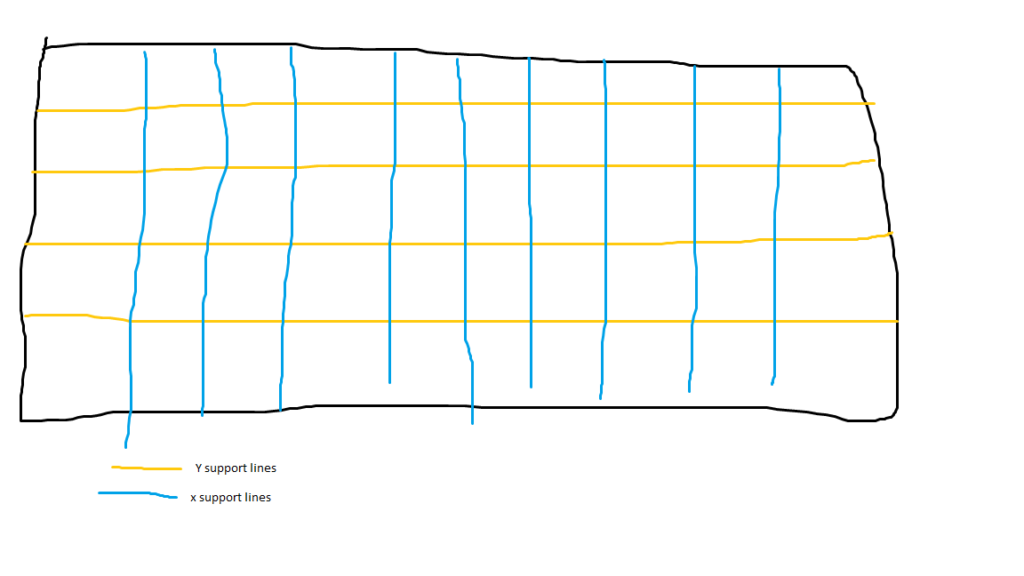
This is what the it should look like. The y tile lines will be horizontal, and the x tile lines will be vertical.
Result:
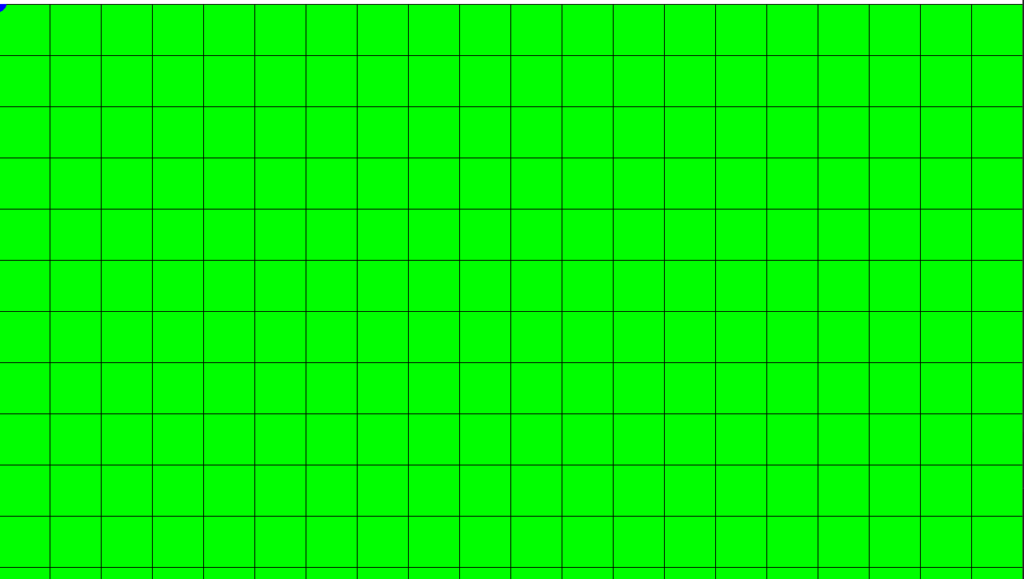
Tried to make the lines green so it will look better and…
oh boy…
Okay I took out the green and made the lines a little transparent.
Changing the mouse cursor
Changed the mouse cursor to this:
What we need in order to change the mouse is to find the clickable area, which would be somewhere around the tip of the mouse, the rest is the attached stuff to it.
We load the image in, then we set where it should be clickable. In this case, it’s (o,0). After that, we replace the mouse with the cursor that we have.
result:
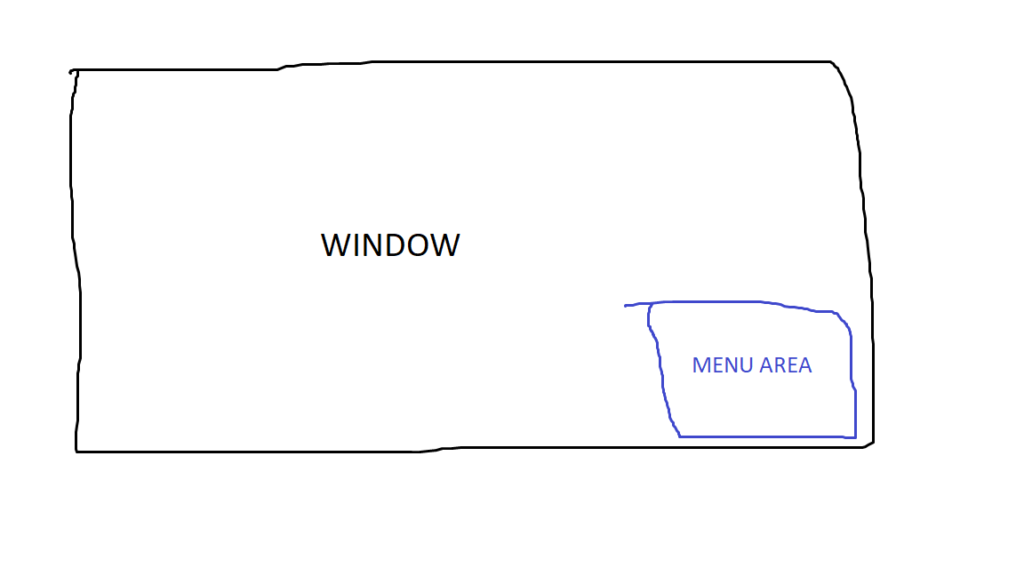
Creating the menu
To make the menu work, in editor.py we’ll have a variable called selection_index that will have value between 2 and 18. Each number represents a certain kind of tile in the editor.
Ex. 2: water, 3; terrain, 4: gold coin and so on.
The selection_index can be changed by clicking on the menu or via hotkeys (this is where that colossal file settings.py comes in).
what we will need are the indexes 2-18. 0 and 1 are ignored b/c 0 is the player and 1 is the sky. They will also be in the editor so they don’t need to be created.
2-18 the player can create like the terrain, coin, etc…
Making the hotkeys for the menu
editor.py
def selection_hotkeys(self, event):
        if event.type == pygame.KEYDOWN:
            if event.key == pygame.K_RIGHT:
                self.selection_index += 1
            if event.key == pygame.K_LEFT:
                self.selection_index -= 1
Detects if the user is pressing a button. It’s not checking if we’re holding down a button so there’s no need for a timer.
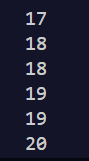
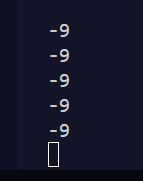
The problem is that when you repeatedly press the button the number can go below 0 and above 18.
The menu took a little bit for me b/c there was something wrong with the place of the rectangle. It kept going offscreen (I put a random number for one of the window dimensions instead of its variable).
Made the scroll wheel move the origin up, down, left and right
editor.py
if event.type == pygame.MOUSEWHEEL:
            if pygame.key.get_pressed()[pygame.K_LCTRL]:
                self.origin.y -= event.y * 50
            else:
                self.origin.x -= event.y * 50
Allows the origin to move or right WITHOUT holding down left CTRL and up or down when holding down left CTRL.
Without holding down left CTRL:
Holding down left CTRL:
That’s really it for the pan input. Nothing extremely complex. Later on we’ll have to add more stuff, but for now this is good.
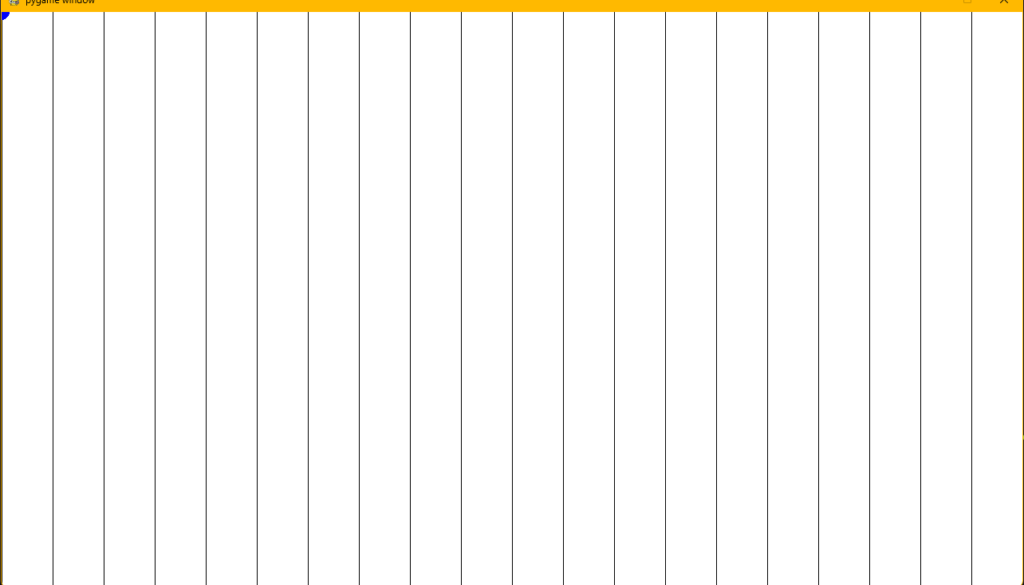
Drawing the tile lines to find what location we are in the grid
Making the tile lines should be infinite and relative to the origin point.
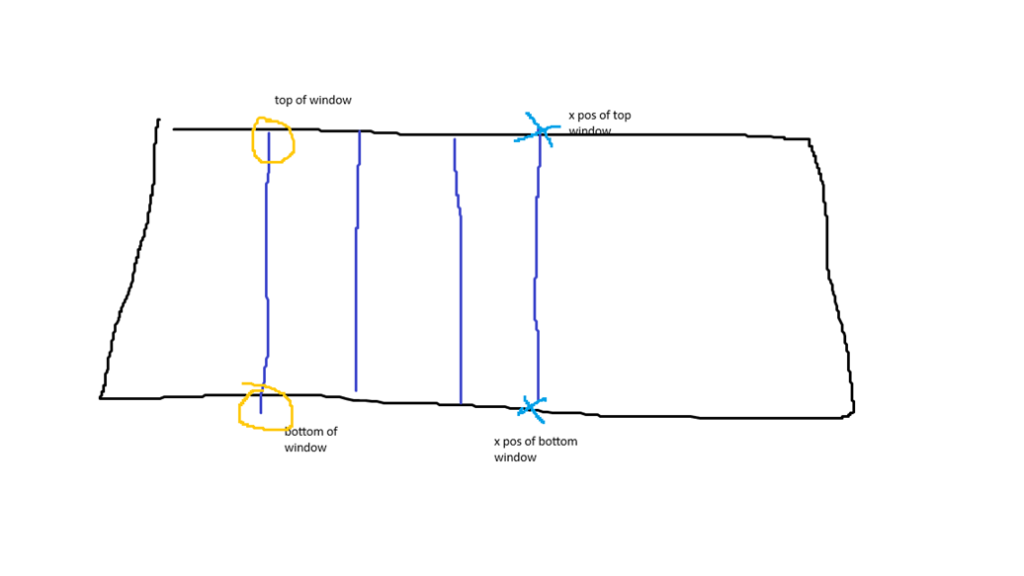
All of the lines should start at the position 0 (start of the window) and end at the height (the bottom) of the window. The x position for the top and bottom of the line should be the same.
Very rough sketch of what I’m trying to explain:
We would find this out by this code:
editor.py
for col in range(cols):
            x = self.origin.x + col * TILE_SIZE
            pygame.draw.line(self.display_surface, LINE_COLOR, (x,0), (x,WINDOW_HEIGHT))
Let’s say that the position of the origin point is (0,0). We would be getting that from self.origin.x. x = 0. We then add that to the column (which is 0) and then multiply by the TILE_SIZE (which will always be 64). The answer to that equation will be 0, which will be the line at the left side of the window.
if col is 1 and we multiply that by 64, we’ll get 64, which will move from the first point to the point to the right and so on until we reach the end of the columns.
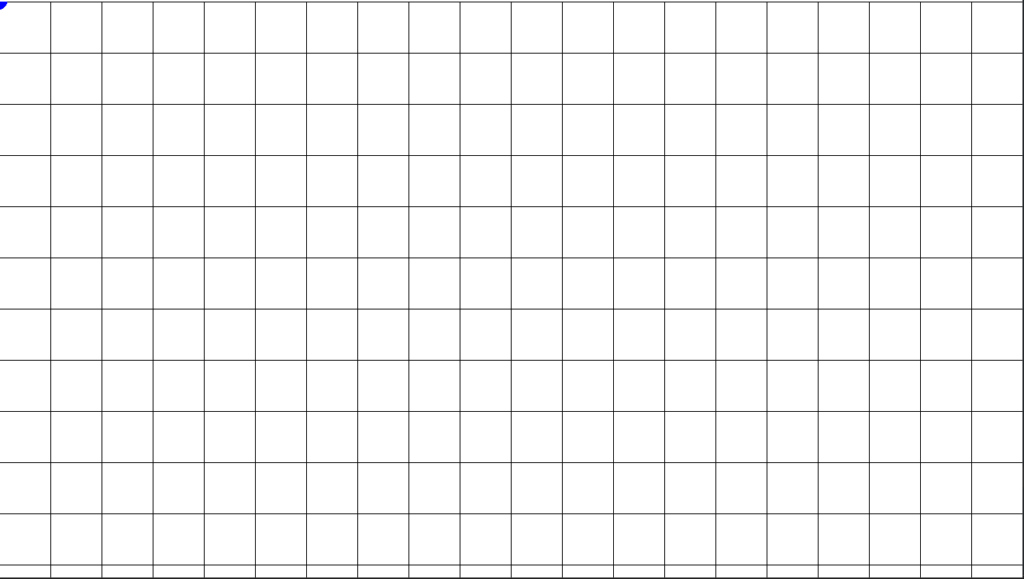
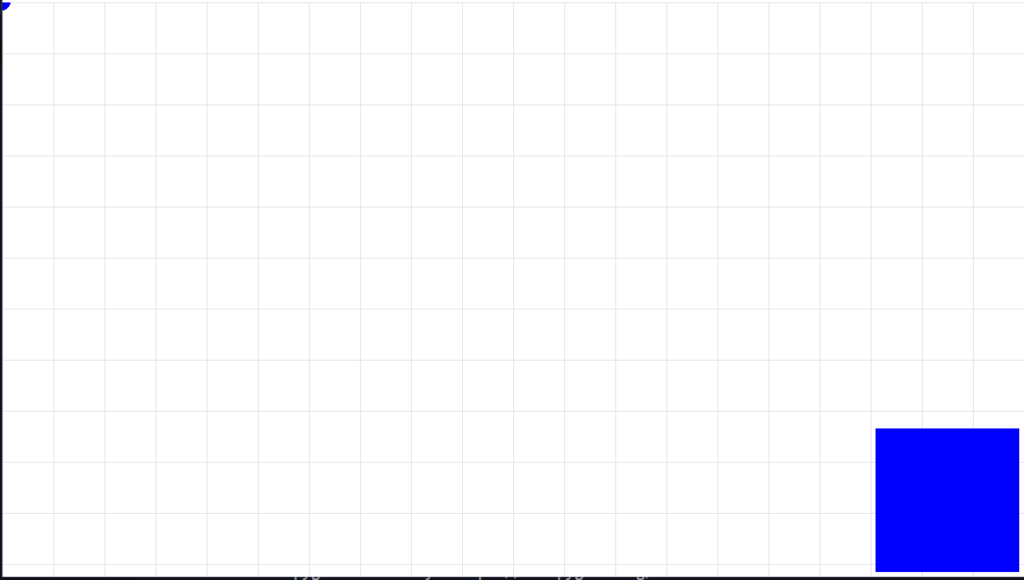
If we run it, this is our result:
When you move the origin point the lines will move with it.
There’s a problem though. We run out of points when we move and there’s just a giant empty white space. The same thing happens when you move the origin point to the left.
What we have to do is make sure that the lines are always on the display and that we’re never running out of lines.
We will have to create columns between the origin’s position and the next column so that we can move the origin wherever we want (and so they don’t go out the window).
To do this, we have to divide origin_offset with the TILE_SIZE. Let’s say it is 100. We divide that by the TILE_SIZE (64) and then multiply that number by the TILE_SIZE, which would be 1, which means we’re in the 1st column. Same thing for y.
Created the origin to follow the mouse by holding the middle mouse button.
editor.py
import pygame, sys
from settings import *
from pygame.math import Vector2 as vector
from pygame.mouse import get_pressed as mouse_buttons
from pygame.mouse import get_pos as mouse_pos
class Editor:
def __init__(self):
# main setup
self.display_surface = pygame.display.get_surface()
# navigation
self.origin = vector()
self.pan_active = False
def event_loop(self):
for event in pygame.event.get():
if event.type == pygame.QUIT:
pygame.quit()
sys.exit()
self.pan_input(event)
----------------------------------------- look between these
def pan_input(self, event):
'''checks if middle button is pressed'''
if event.type == pygame.MOUSEBUTTONDOWN and mouse_buttons()[1]:
self.pan_active = True
if not mouse_buttons()[1]:
self.pan_active = False
#panning update
if self.pan_active:
self.origin = mouse_pos()
------------------------------------- look between these
def run(self, dt):
self.display_surface.fill('white')
self.event_loop()
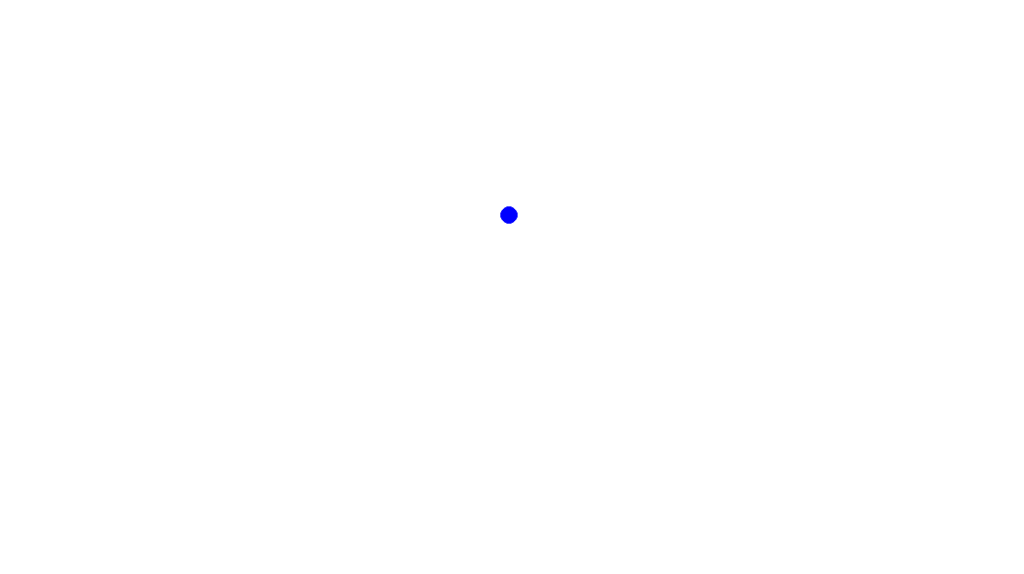
pygame.draw.circle(self.display_surface, 'blue', self.origin, 10)
The code between the dotted lines is what makes the origin move by holding down the mouse button.
Result:
Origin in the middle.
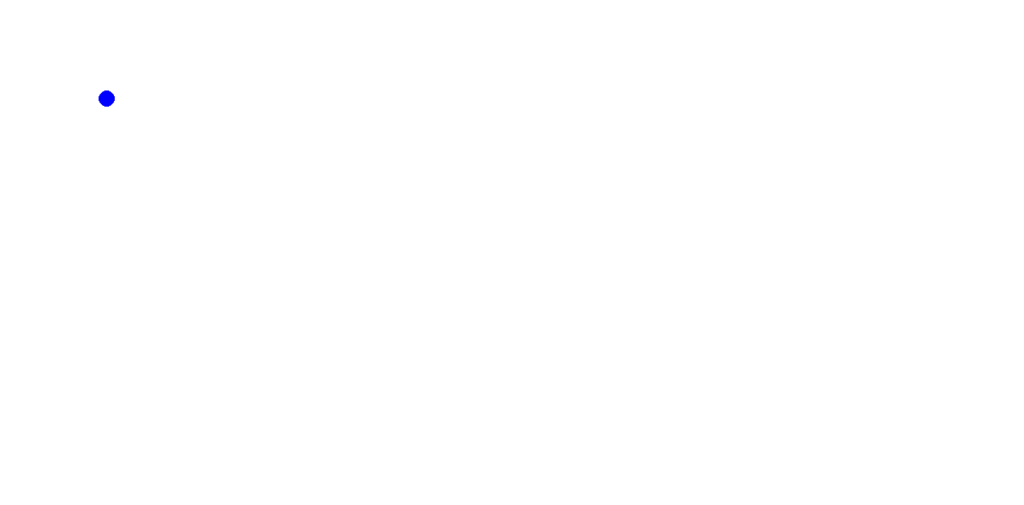
Origin on the left.
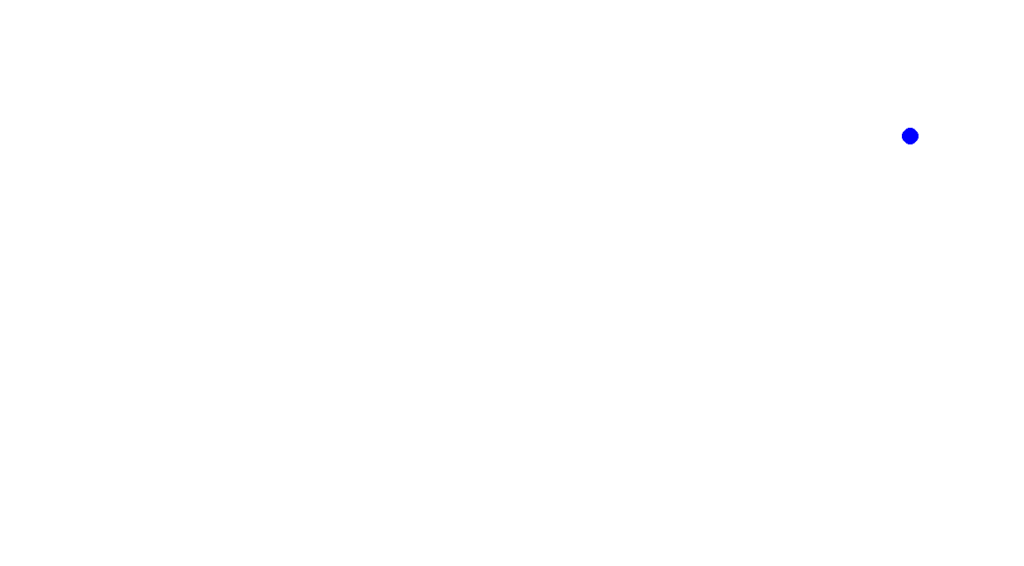
And the origin on the right.
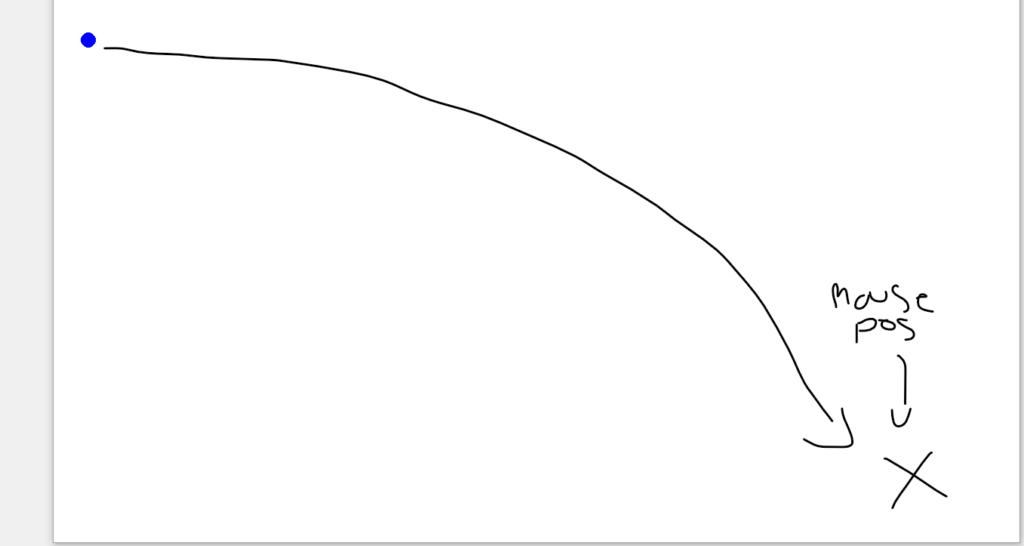
There is a slight problem with this. The origin follows where the mouse’s position is. For example. If the mouse is at the bottom right-hand corner of the screen and the origin is on the top left-hand corner of the screen and the user presses the middle mouse button, the origin will go from its original position to the mouse’s position.
If we keep this, it will get pretty confusing later when we progress making the game, especially having different tiles and objects all around the screen.
The BETTER way to move the origin.
editor.py
def pan_input(self, event):
        '''checks if middle button is pressed'''
        if event.type == pygame.MOUSEBUTTONDOWN and mouse_buttons()[1]:
            self.pan_active = True
            self.pan_offset = vector(mouse_pos()) - self.origin
        if not mouse_buttons()[1]:
            self.pan_active = False

            #panning update
        if self.pan_active:
            self.origin = vector(mouse_pos()) - self.pan_offset
The bolded lines of code helps with making it better to move the origin.
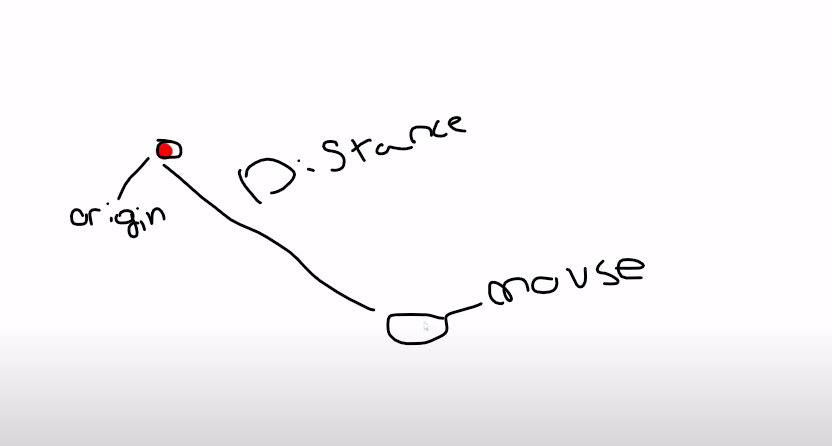
What you get from the first bolded line of code is the distance between the origin and the mouse position.
To use it you subtract the mouse_pos() with the pan_offset to get the distance IF the pan_active is true.
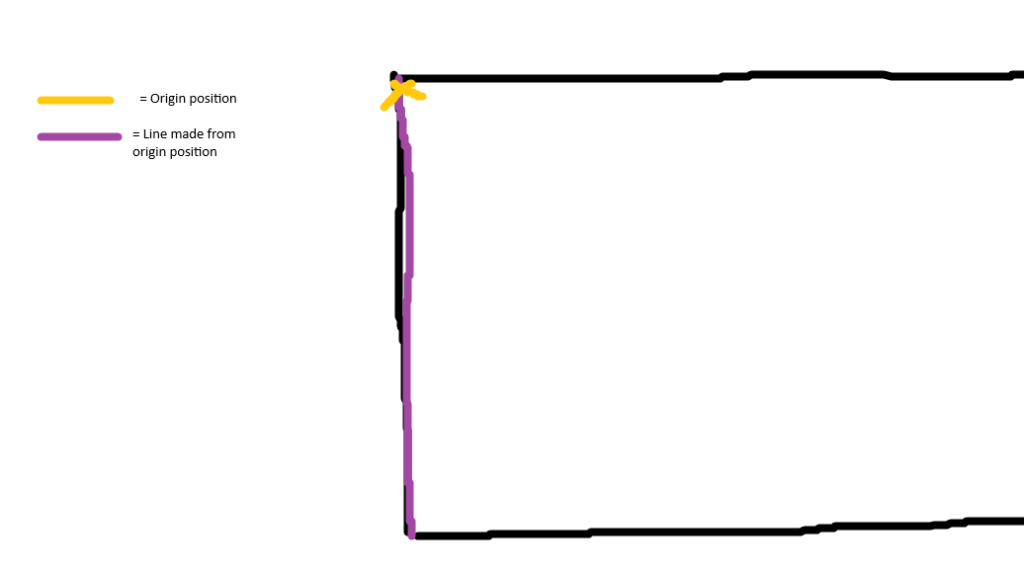
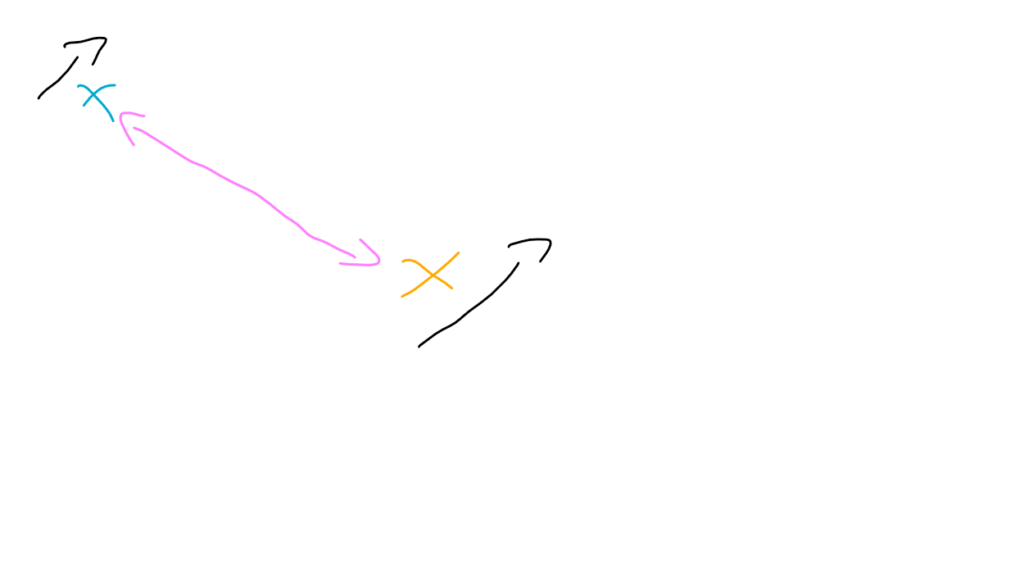
The teal x is the origin. The yellow one is the mouse. vector(mouse_pos()) – self.origin calculates the distance (in pink) between the mouse_pos() and the origin.
self.origin = vector(mouse_pos()) – self.pan_offset creates an offset of the pan when holding down the middle mouse button. This will move the origin point WITHOUT moving the origin point with the mouse (aka. clicking on it).
Result:
When moving the mouse, the origin will move with it, but not follow its exact position.
Ignore my chicken scratch. It’s hard writing with a right-handed mouse when you’re left-handed :/
A HUGE amount of code that contains all the images and info for the program…
editor.py
import pygame, sys
from settings import *
from pygame.math import Vector2 as vector
from pygame.mouse import get_pressed as mouse_buttons

class Editor:
    def __init__(self):

        # main setup
        self.display_surface = pygame.display.get_surface()

        # navigation
        self.origin = vector()
        self.pan_active = False

    def event_loop(self):

        for event in pygame.event.get():
            if event.type == pygame.QUIT:
                pygame.quit()
                sys.exit()
            self.pan_input(event)

    def pan_input(self, event):
        '''checks if middle button is pressed'''
        if event.type == pygame.MOUSEBUTTONDOWN and mouse_buttons()[1]:
            self.pan_active = True
            print('middle mouse button')

    def run(self, dt):
        self.display_surface.fill('white')
        self.event_loop()
        pygame.draw.circle(self.display_surface, 'blue', self.origin, 10)
Has all the info to edit the program. Will get HUGE from adding more stuff to it.
There’s not a lot to it because I kept putting my files in the wrong folders (I did it THREE TIMES and was STRESSING where they were) and didn’t want to redo the excessive work I put in… (when I have more energy I swear I’ll add more).
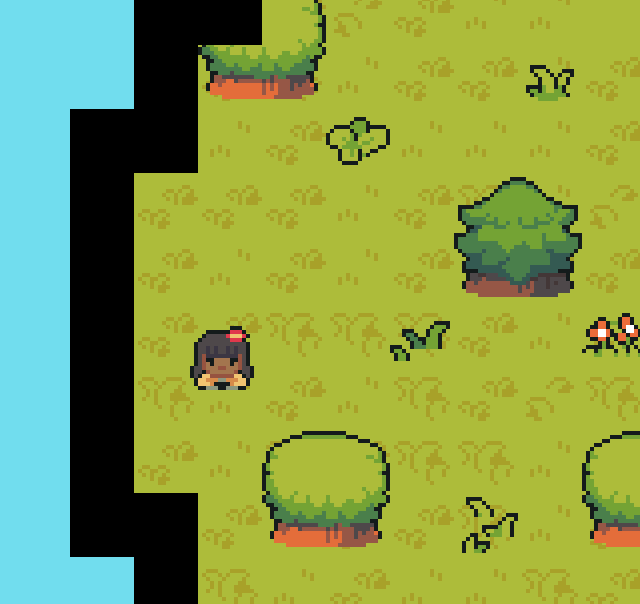
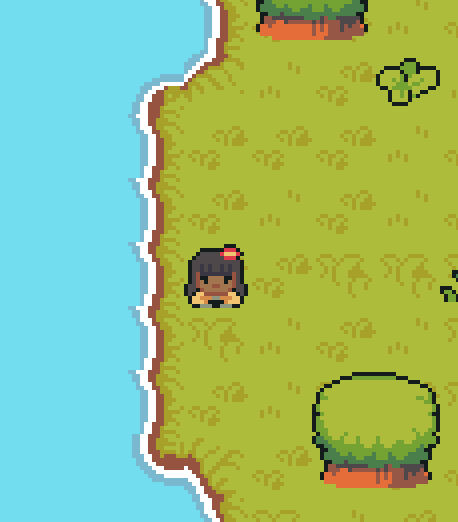
Added a world boundary on the map so that the player can’t walk out of it.
layouts = {
'boundary': import_csv_layout('map//map_FloorBlocks.csv'), <<Looking at this
'grass': import_csv_layout('map//map_Grass.csv'),
'object': import_csv_layout('map//map_Objects.csv')
This the csv directory of where the floor blocks (the barrier) of the world map. I made a function in another file (support.py) that has all the stuff to make it work.
support.py
def import_csv_layout(path):
    terrain_map = []
    with open(path) as level_map:
        layout = reader(level_map, delimiter = ',')
        for row in layout:
            terrain_map.append(list(row))
        return terrain_map
This code reads the csv file, then in level.py it draws it on the map and places the blocks around the edge of it.
world barrier shown.
world barrier hidden ( I just took off self.visible_sprites).
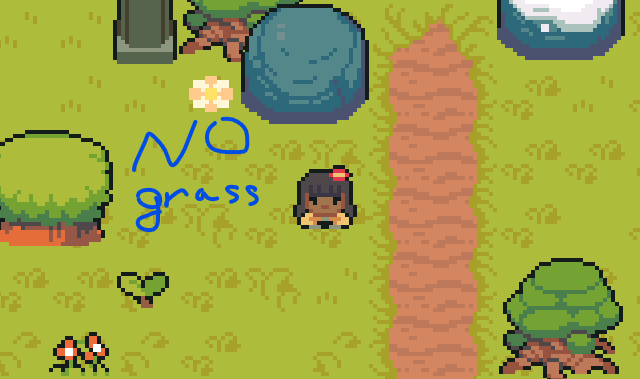
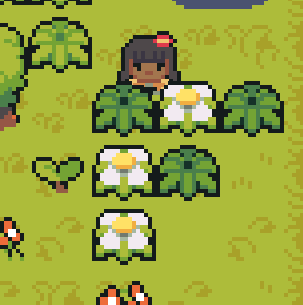
Grass
Added plants and collision on them!!!!
layouts = {
            'boundary': import_csv_layout('map//map_FloorBlocks.csv'),
     This one >>'grass': import_csv_layout('map//map_Grass.csv'),
            'object': import_csv_layout('map//map_Objects.csv')
same thing as boundary, but has a graphics directory AND a csv (as does object).
Added a collide function to be able to click the targets
def collide(self, x, y):
        '''creates the collisions with the mouse and the circle'''
        dis = math.sqrt((x - self.x)**2 + (y - self.y)**2)
        return dis <= self.size
Added ANOTHER draw function that updates the screen every frame so that the program doesn’t slow down
def draw(win, targets):
    '''wipes the screen, draws the objects, and updates the display'''
    win.fill(BG_COLOR)

    for target in targets:
        target.draw(win)

    pygame.display.update()
additional code for collide in main
if event.type == TARGET_EVENT:
               x = random.randint(TARGET_PADDING, WIDTH - TARGET_PADDING)
               y = random.randint(TARGET_PADDING, HEIGHT - TARGET_PADDING)
               target = Target(x, y)
               targets.append(target)
if event.type == pygame.MOUSEBUTTONDOWN:
                click = True
                clicks += 1

        for target in targets:
            target.update()

            if target.size <= 0:
                targets.remove(target)
                misses += 1

            if click and target.collide(*mouse_pos):
                targets.remove(target)
                target_pressed += 1

            if misses >= LIVES:
                pass # end game