Today, I am starting to learn Unity. The newest version of Unity we have is 2017. Thankfully, I managed to find a simple, easy to understand tutorial on how Unity works. Said tutorial is above.
I started by creating a Unity ID(account), I started making a scene. The scene is where your game takes place. The interface contains the scene, Hierarchy, Inspector, Assets.

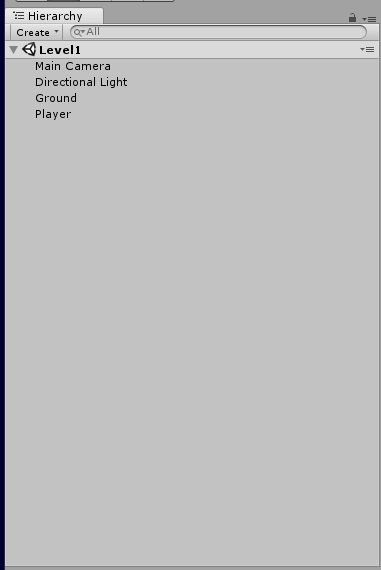
This is the Hierarchy. This menu allows you to see all of the objects currently in your scene, create new objects and select them.

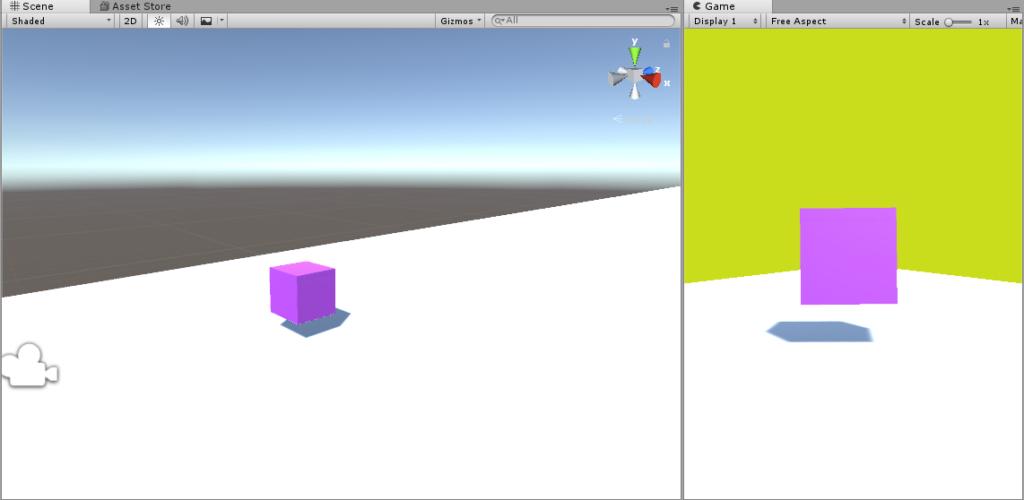
This is the scene viewer. This allows you to pan and move around your scene. You are also able to move around the objects.

This is the inspector. You can use this to manipulate the different properties of selected objects and add different components to your assets.
After familiarizing myself with these basic components, I began to make a simple game. I started by making a cub by right clicking in the Hierarchy, selecting 3d object and then selecting square. I then stretched the square to function as the ground. I then made another square to function as the player. I then created a material by right clicking in the assets tab which will function as the skin for the player, and applied it to the player. I then gave the player the Rigidbody component, which will give the player physics. After messing around with the different shapes for a bit, I ended by changing the skybox color by going into the camera object and selecting the background element.
And that is where I ended today. From this first video, I learned the basics of navigating Unity and it’s menus, as well as how to create objects, give them physics, and change their textures.