Resources used:
Today we started a long project to have a Raspberry Pi use a moisture sensor to read the moisture of a plant and water the plant. I am doing this project with another classmate, Jacob Grzywinski. We are using the website tutorial above to make this project. The website does not include instructions on how to add an moisture sensor, so we will have to add this on by ourselves later.
Since we didn’t have a whole lot of time today, we used this day to get familiar with where the components go and how the circuit looks like before we begin soldering.
The items needed for this project are the following:
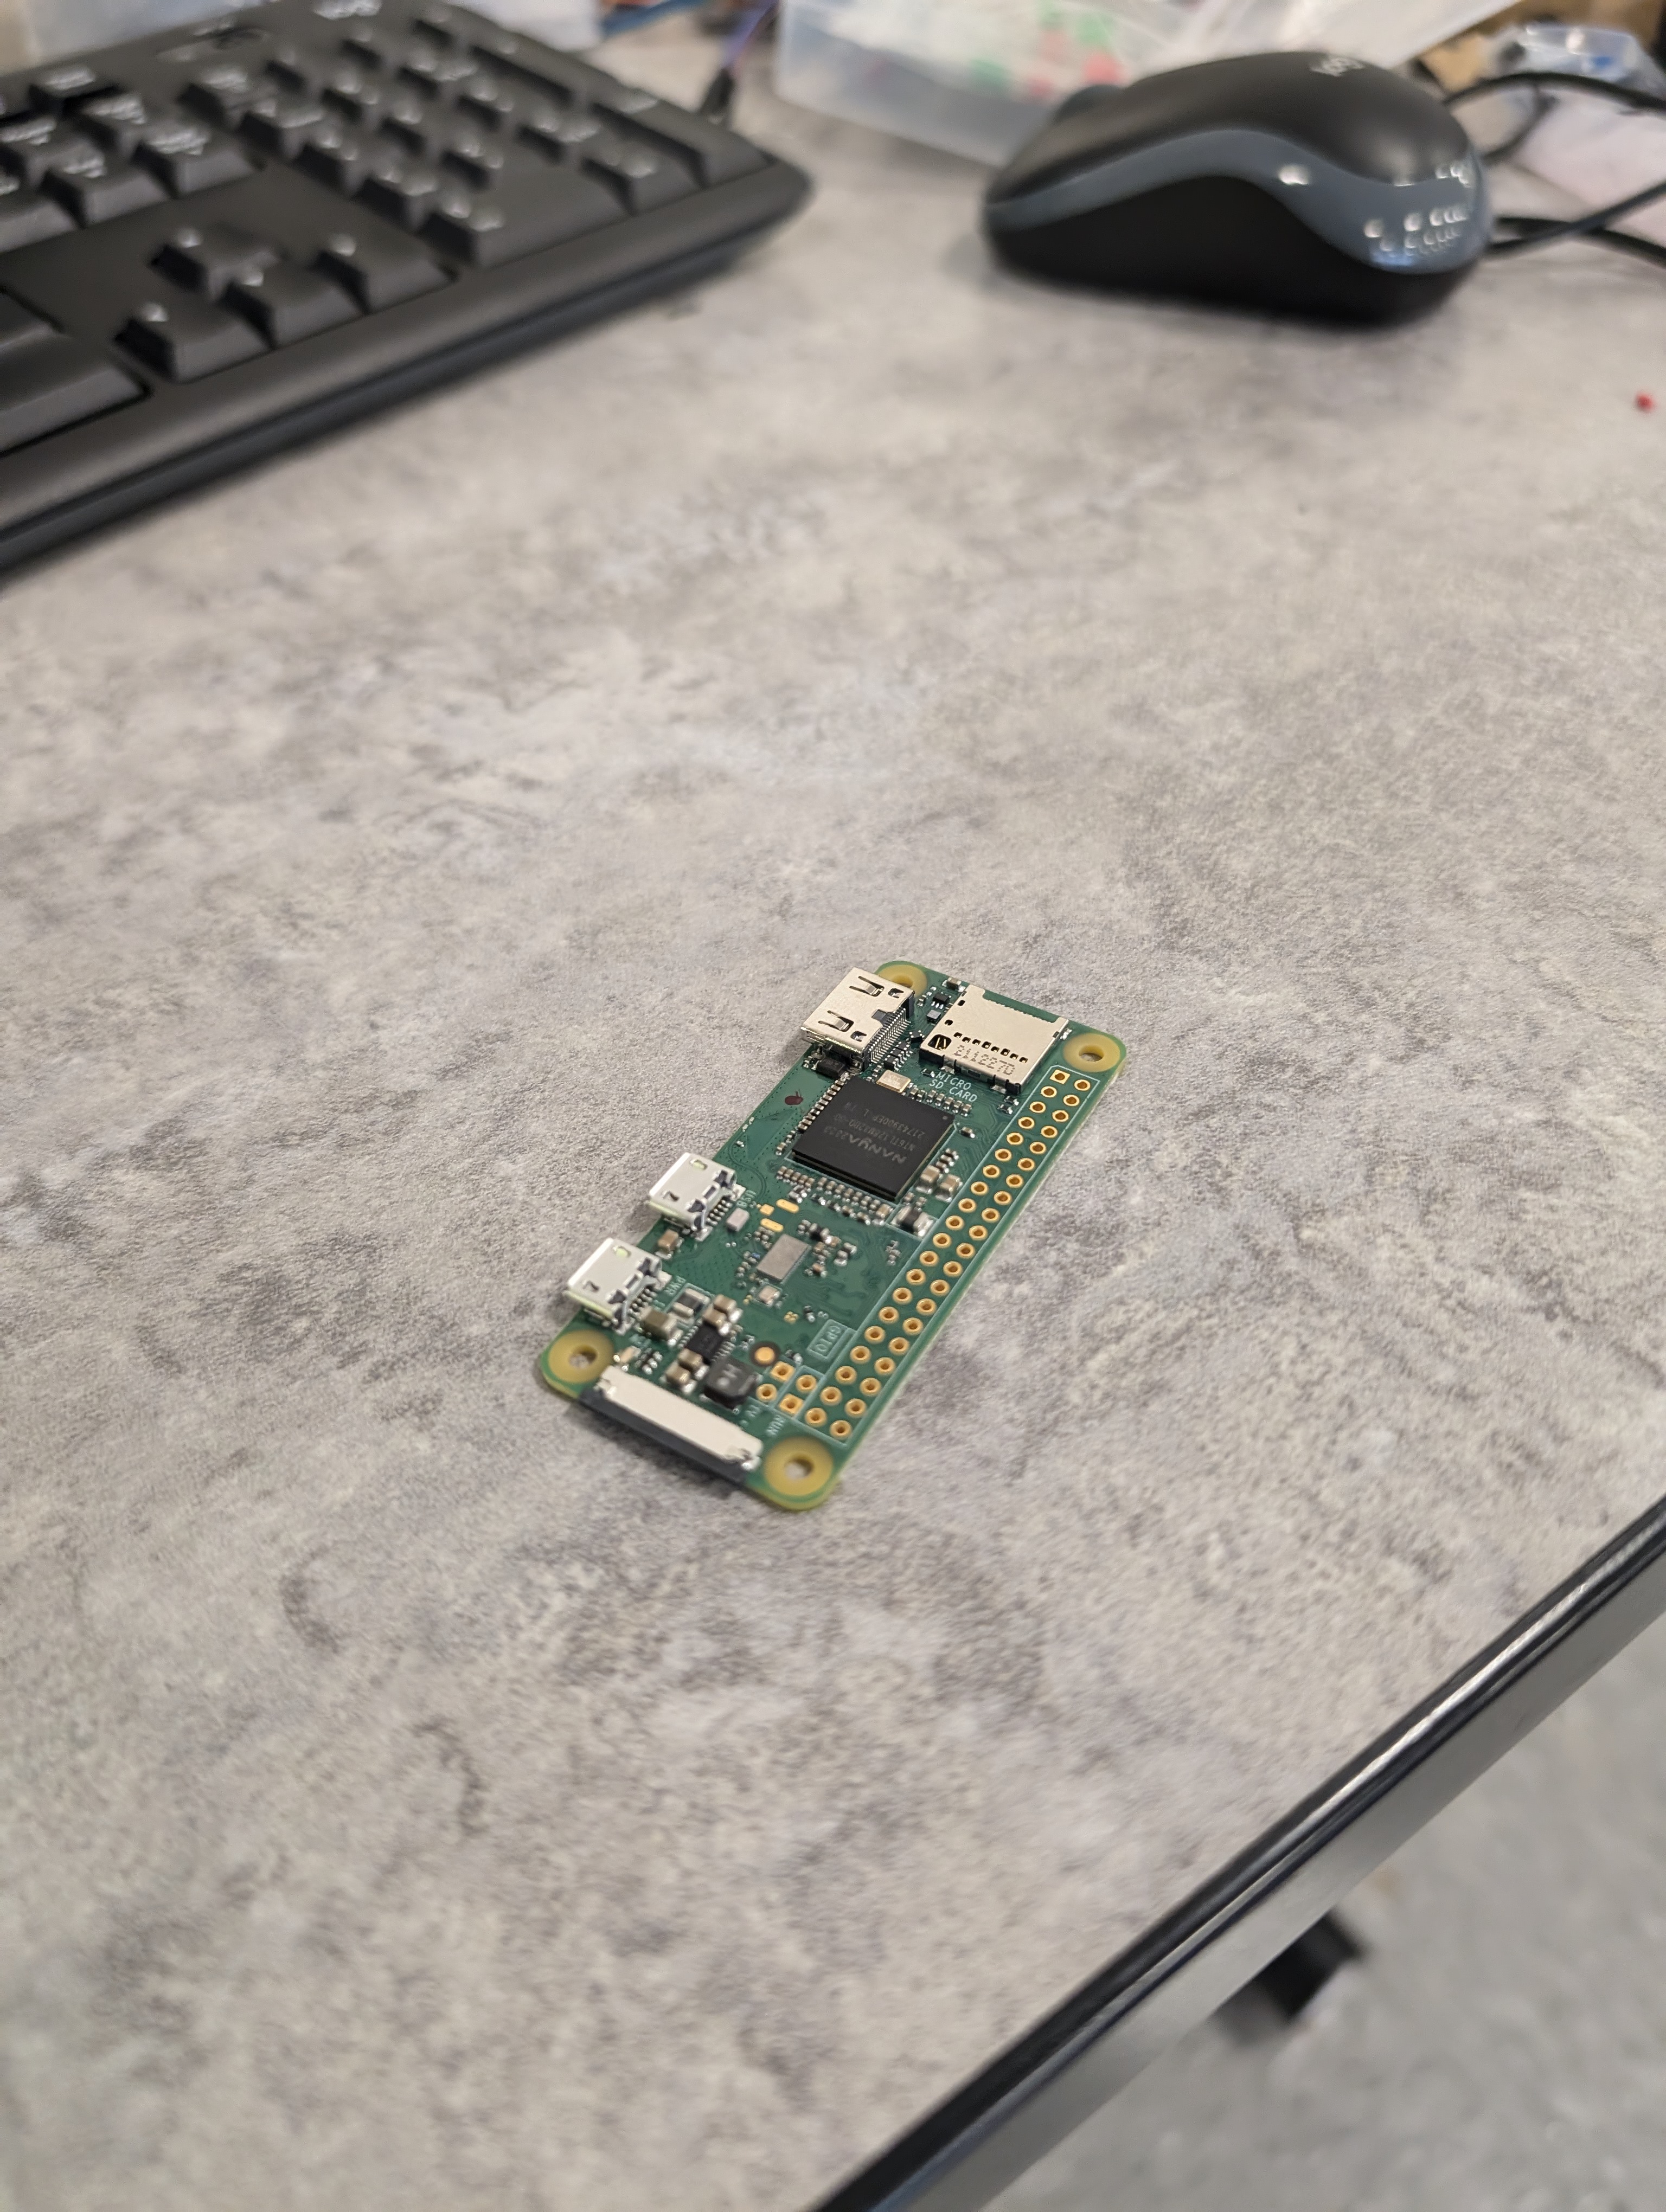
A Raspberry Pi Zero
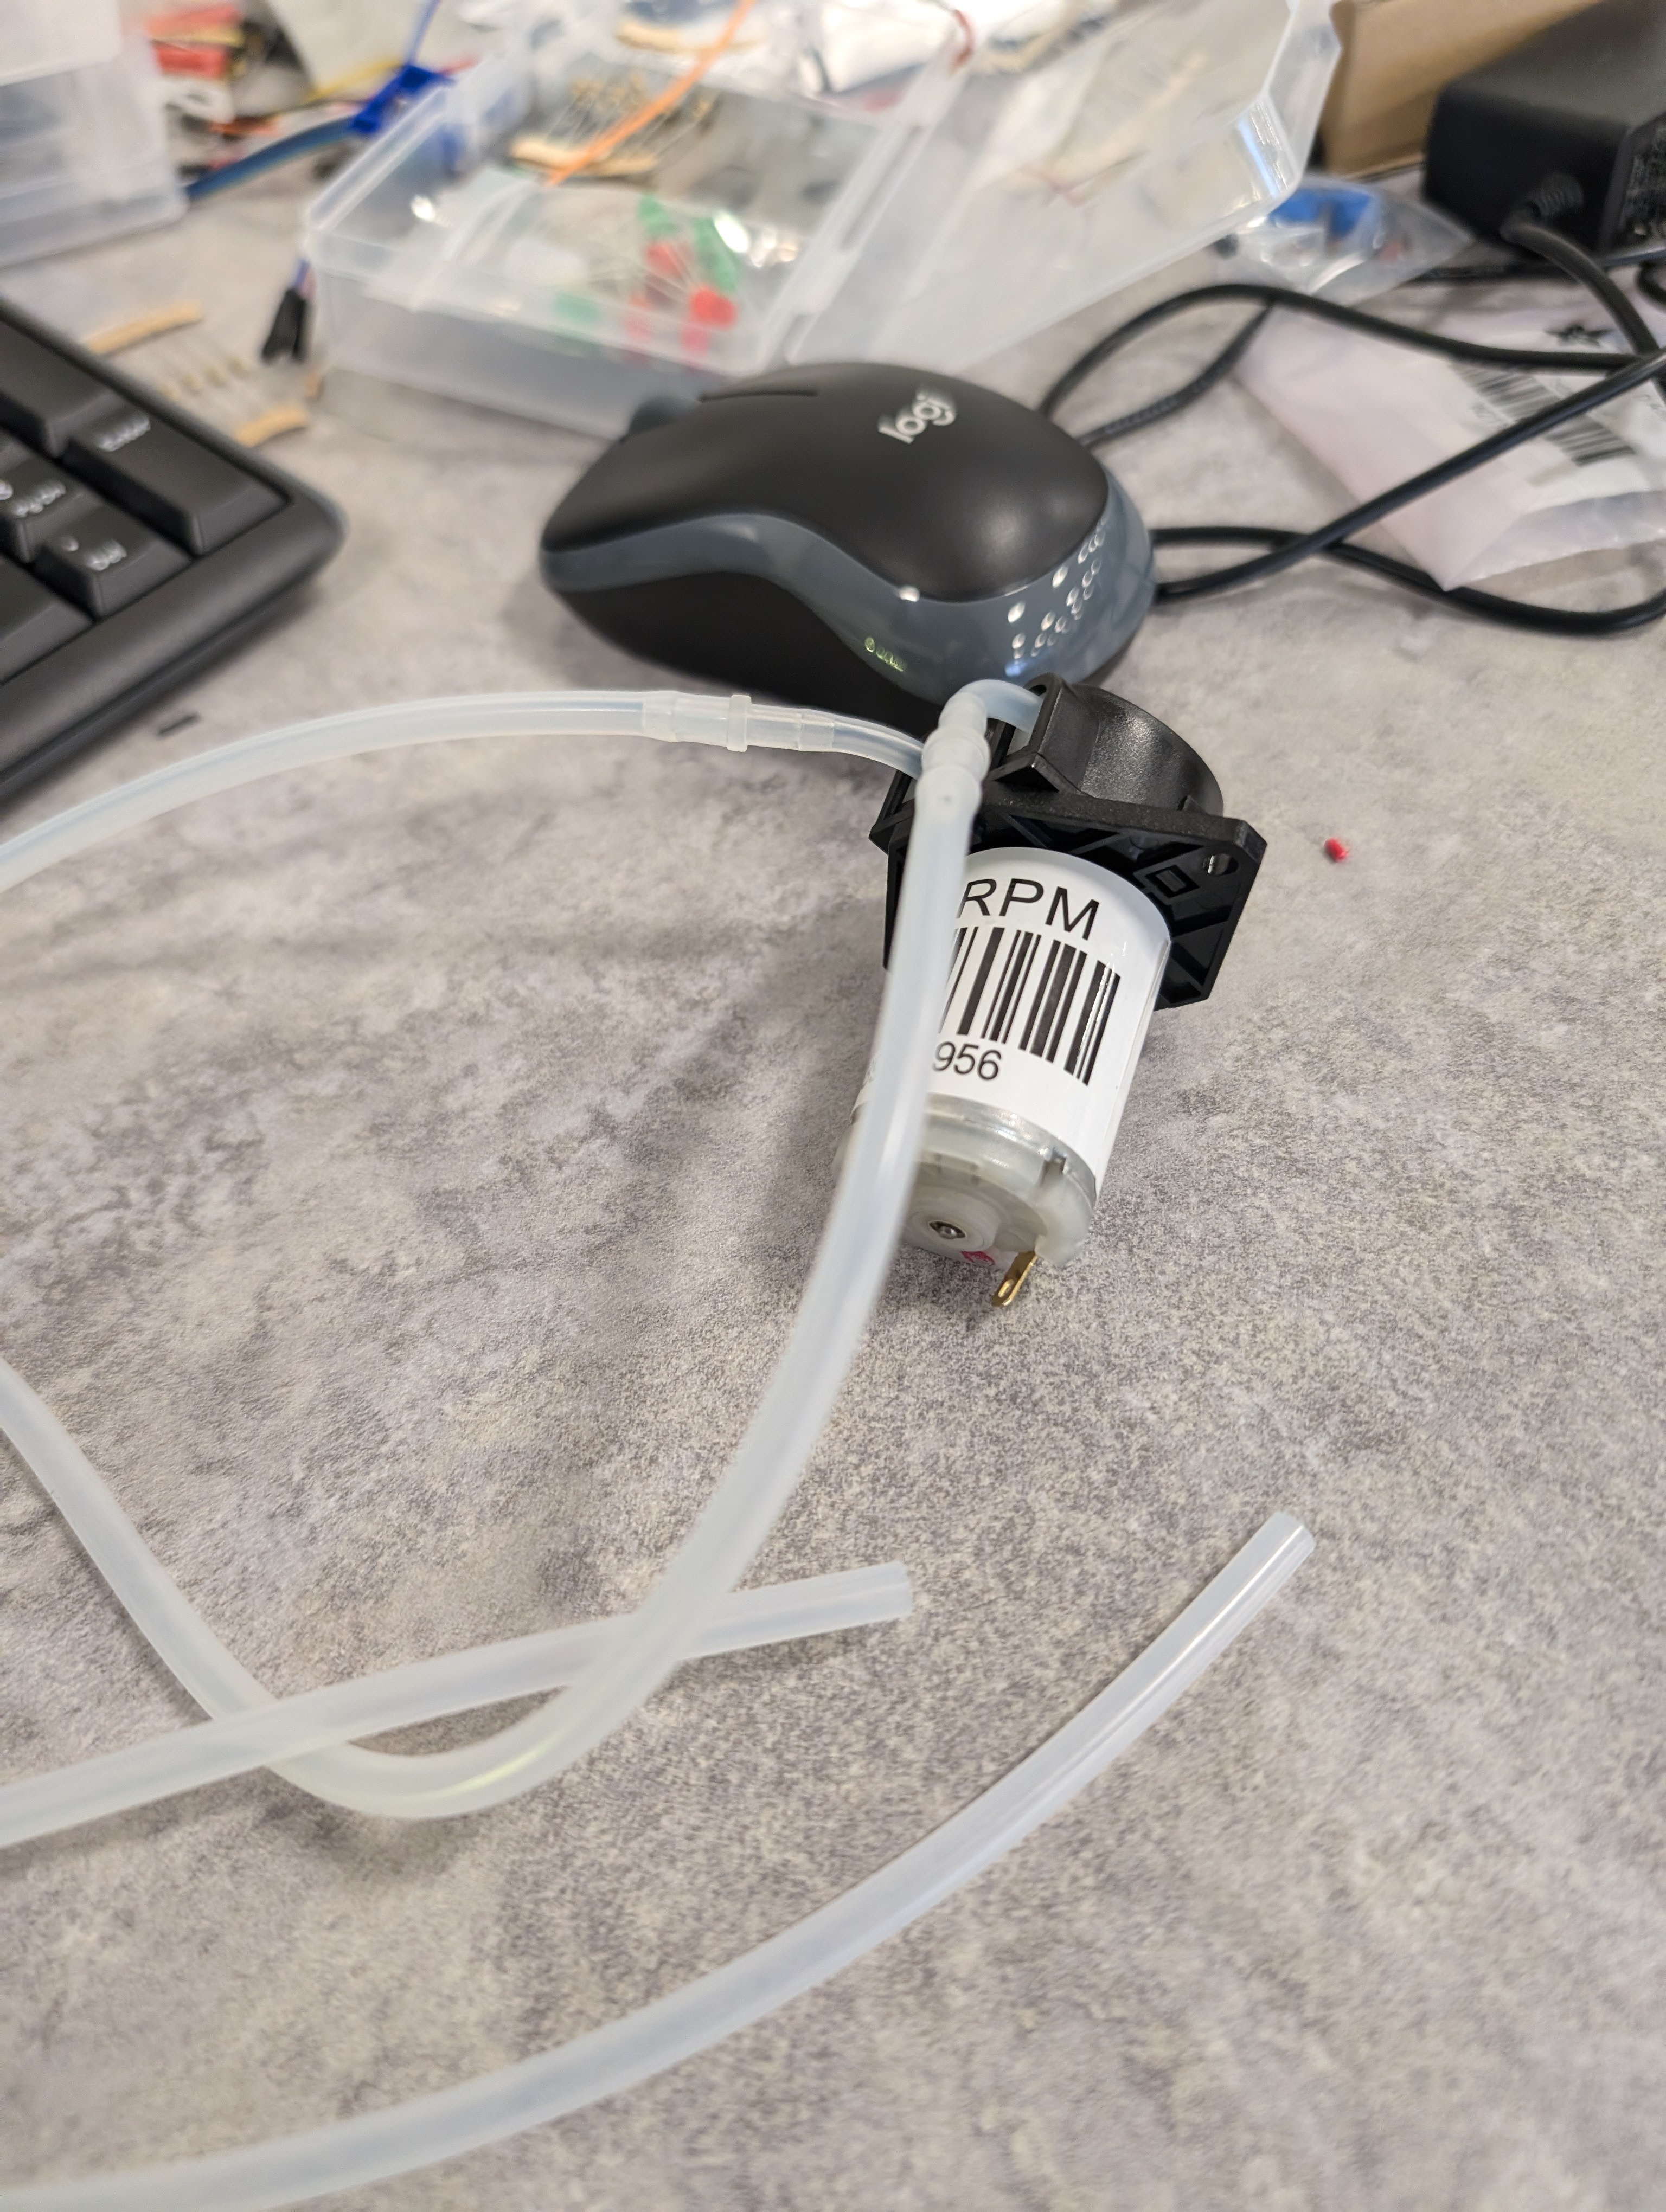
A water pump
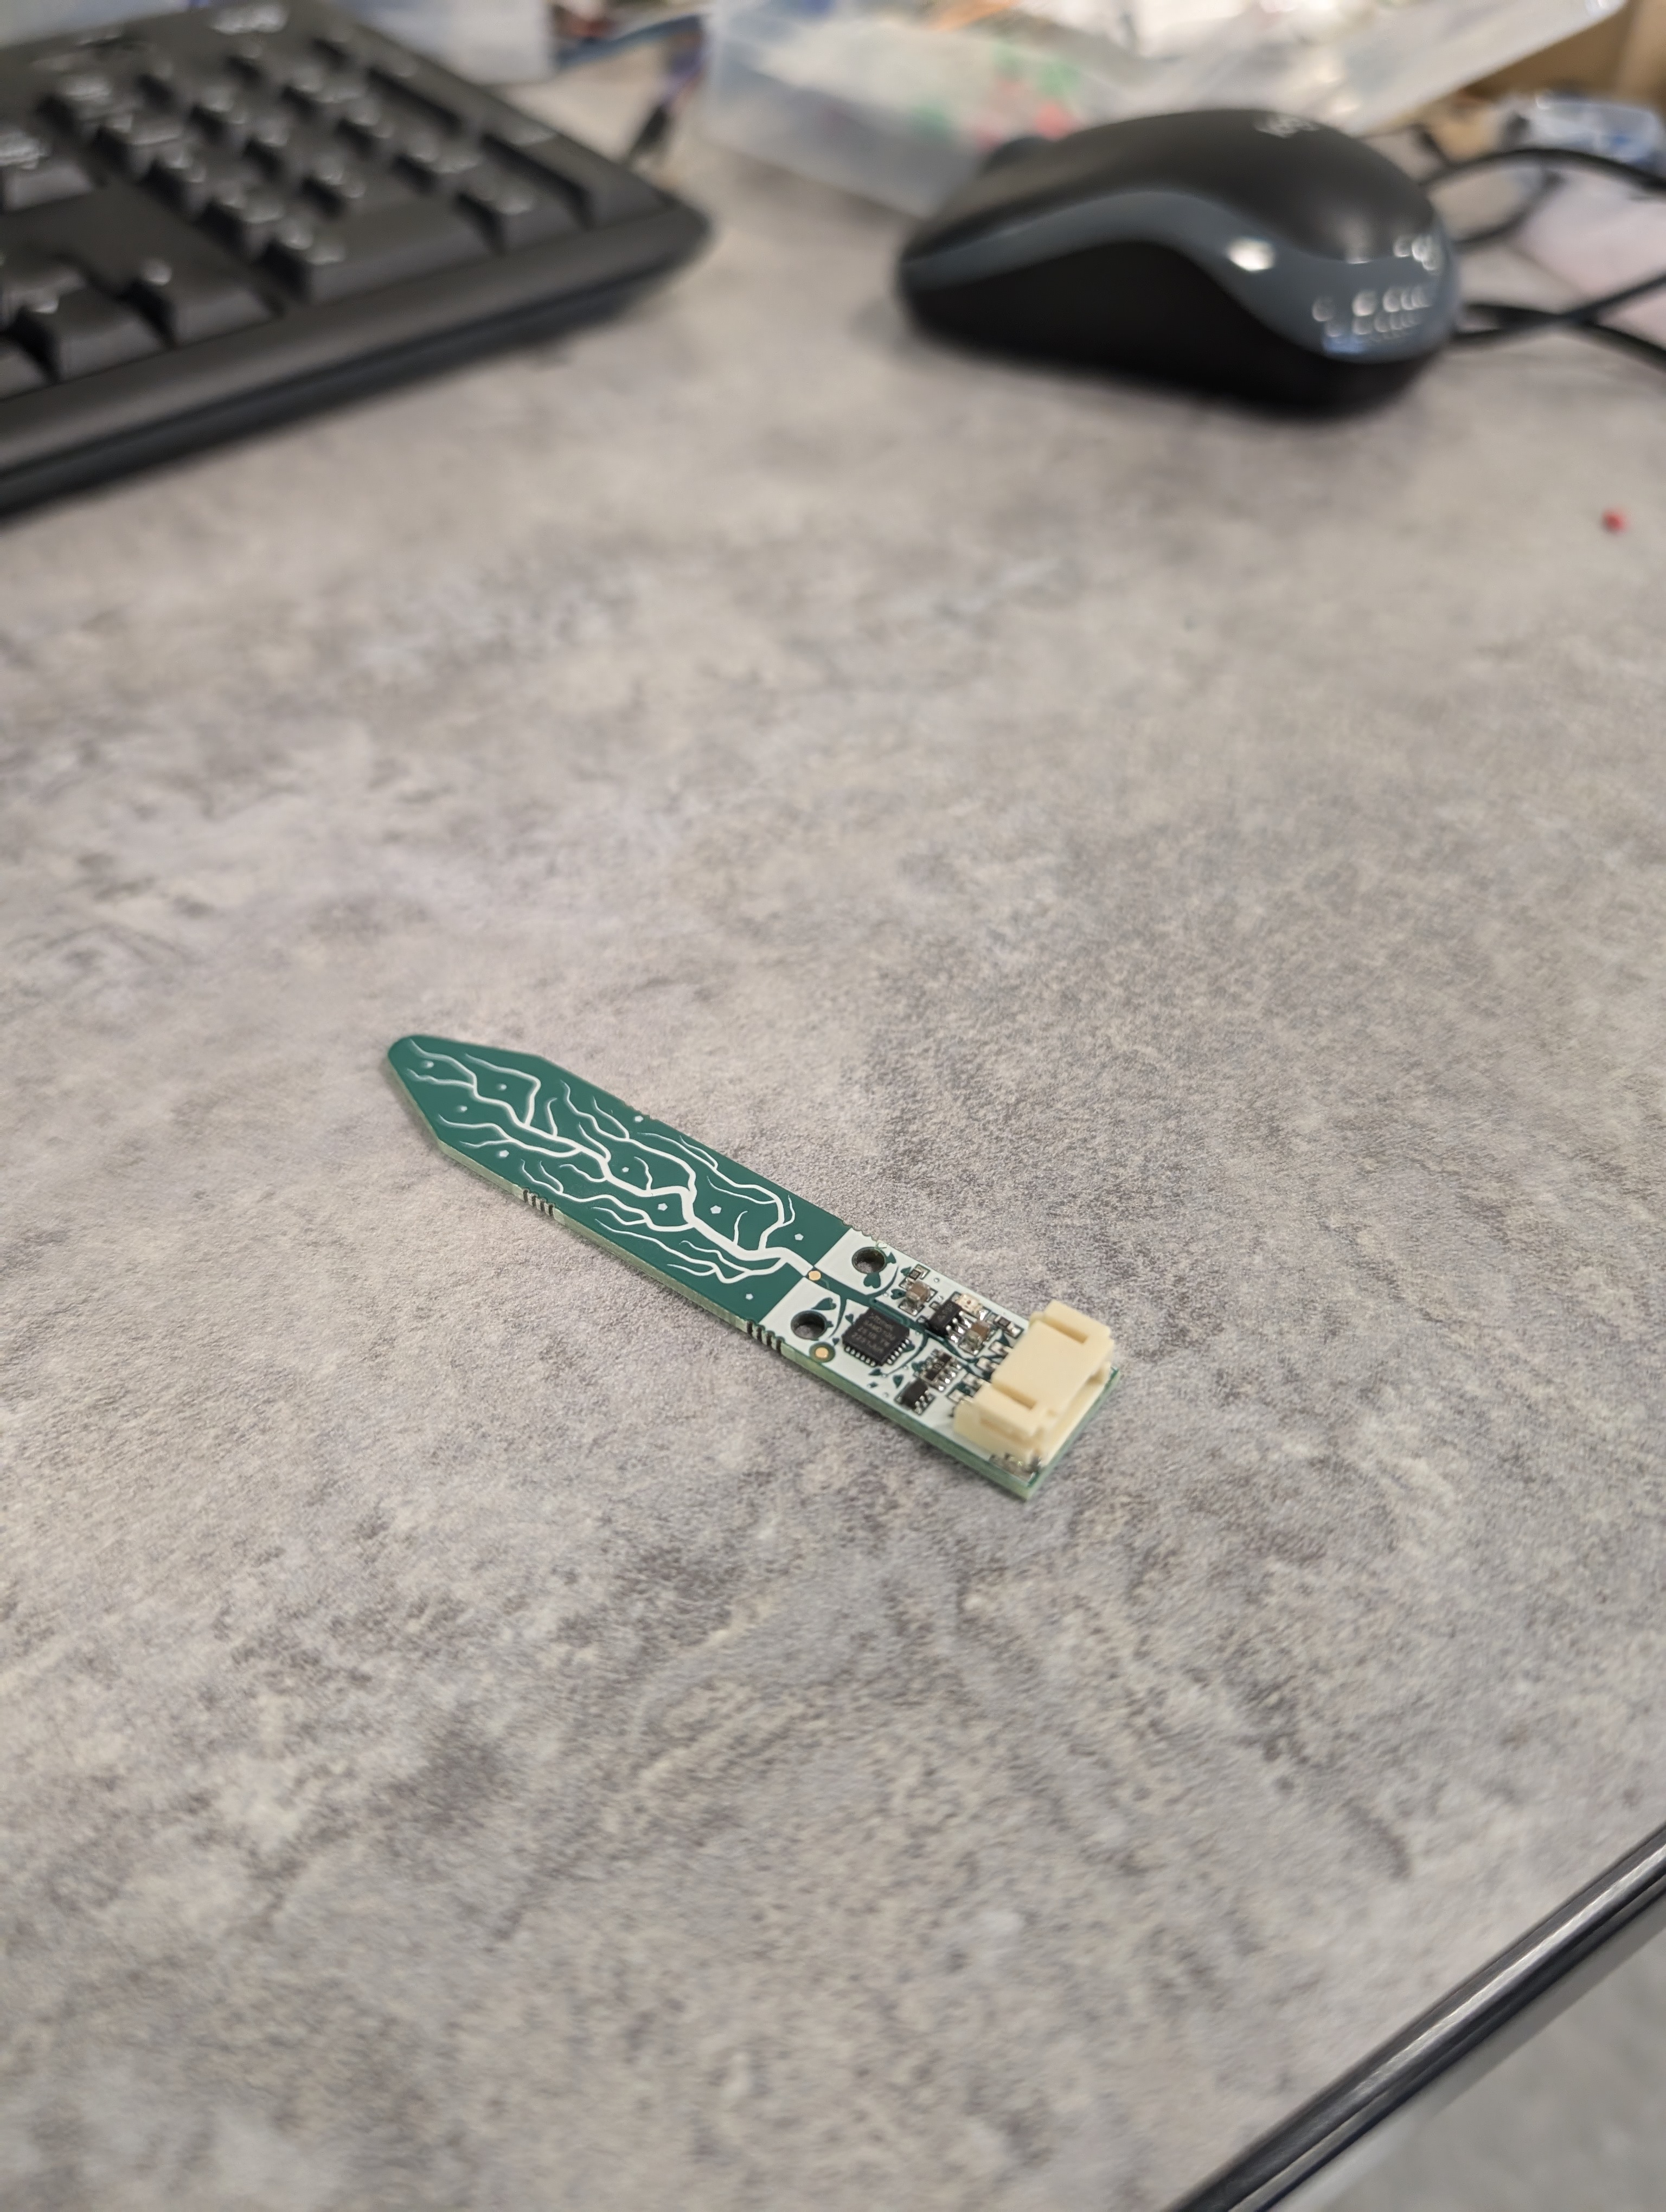
A moisture sensor
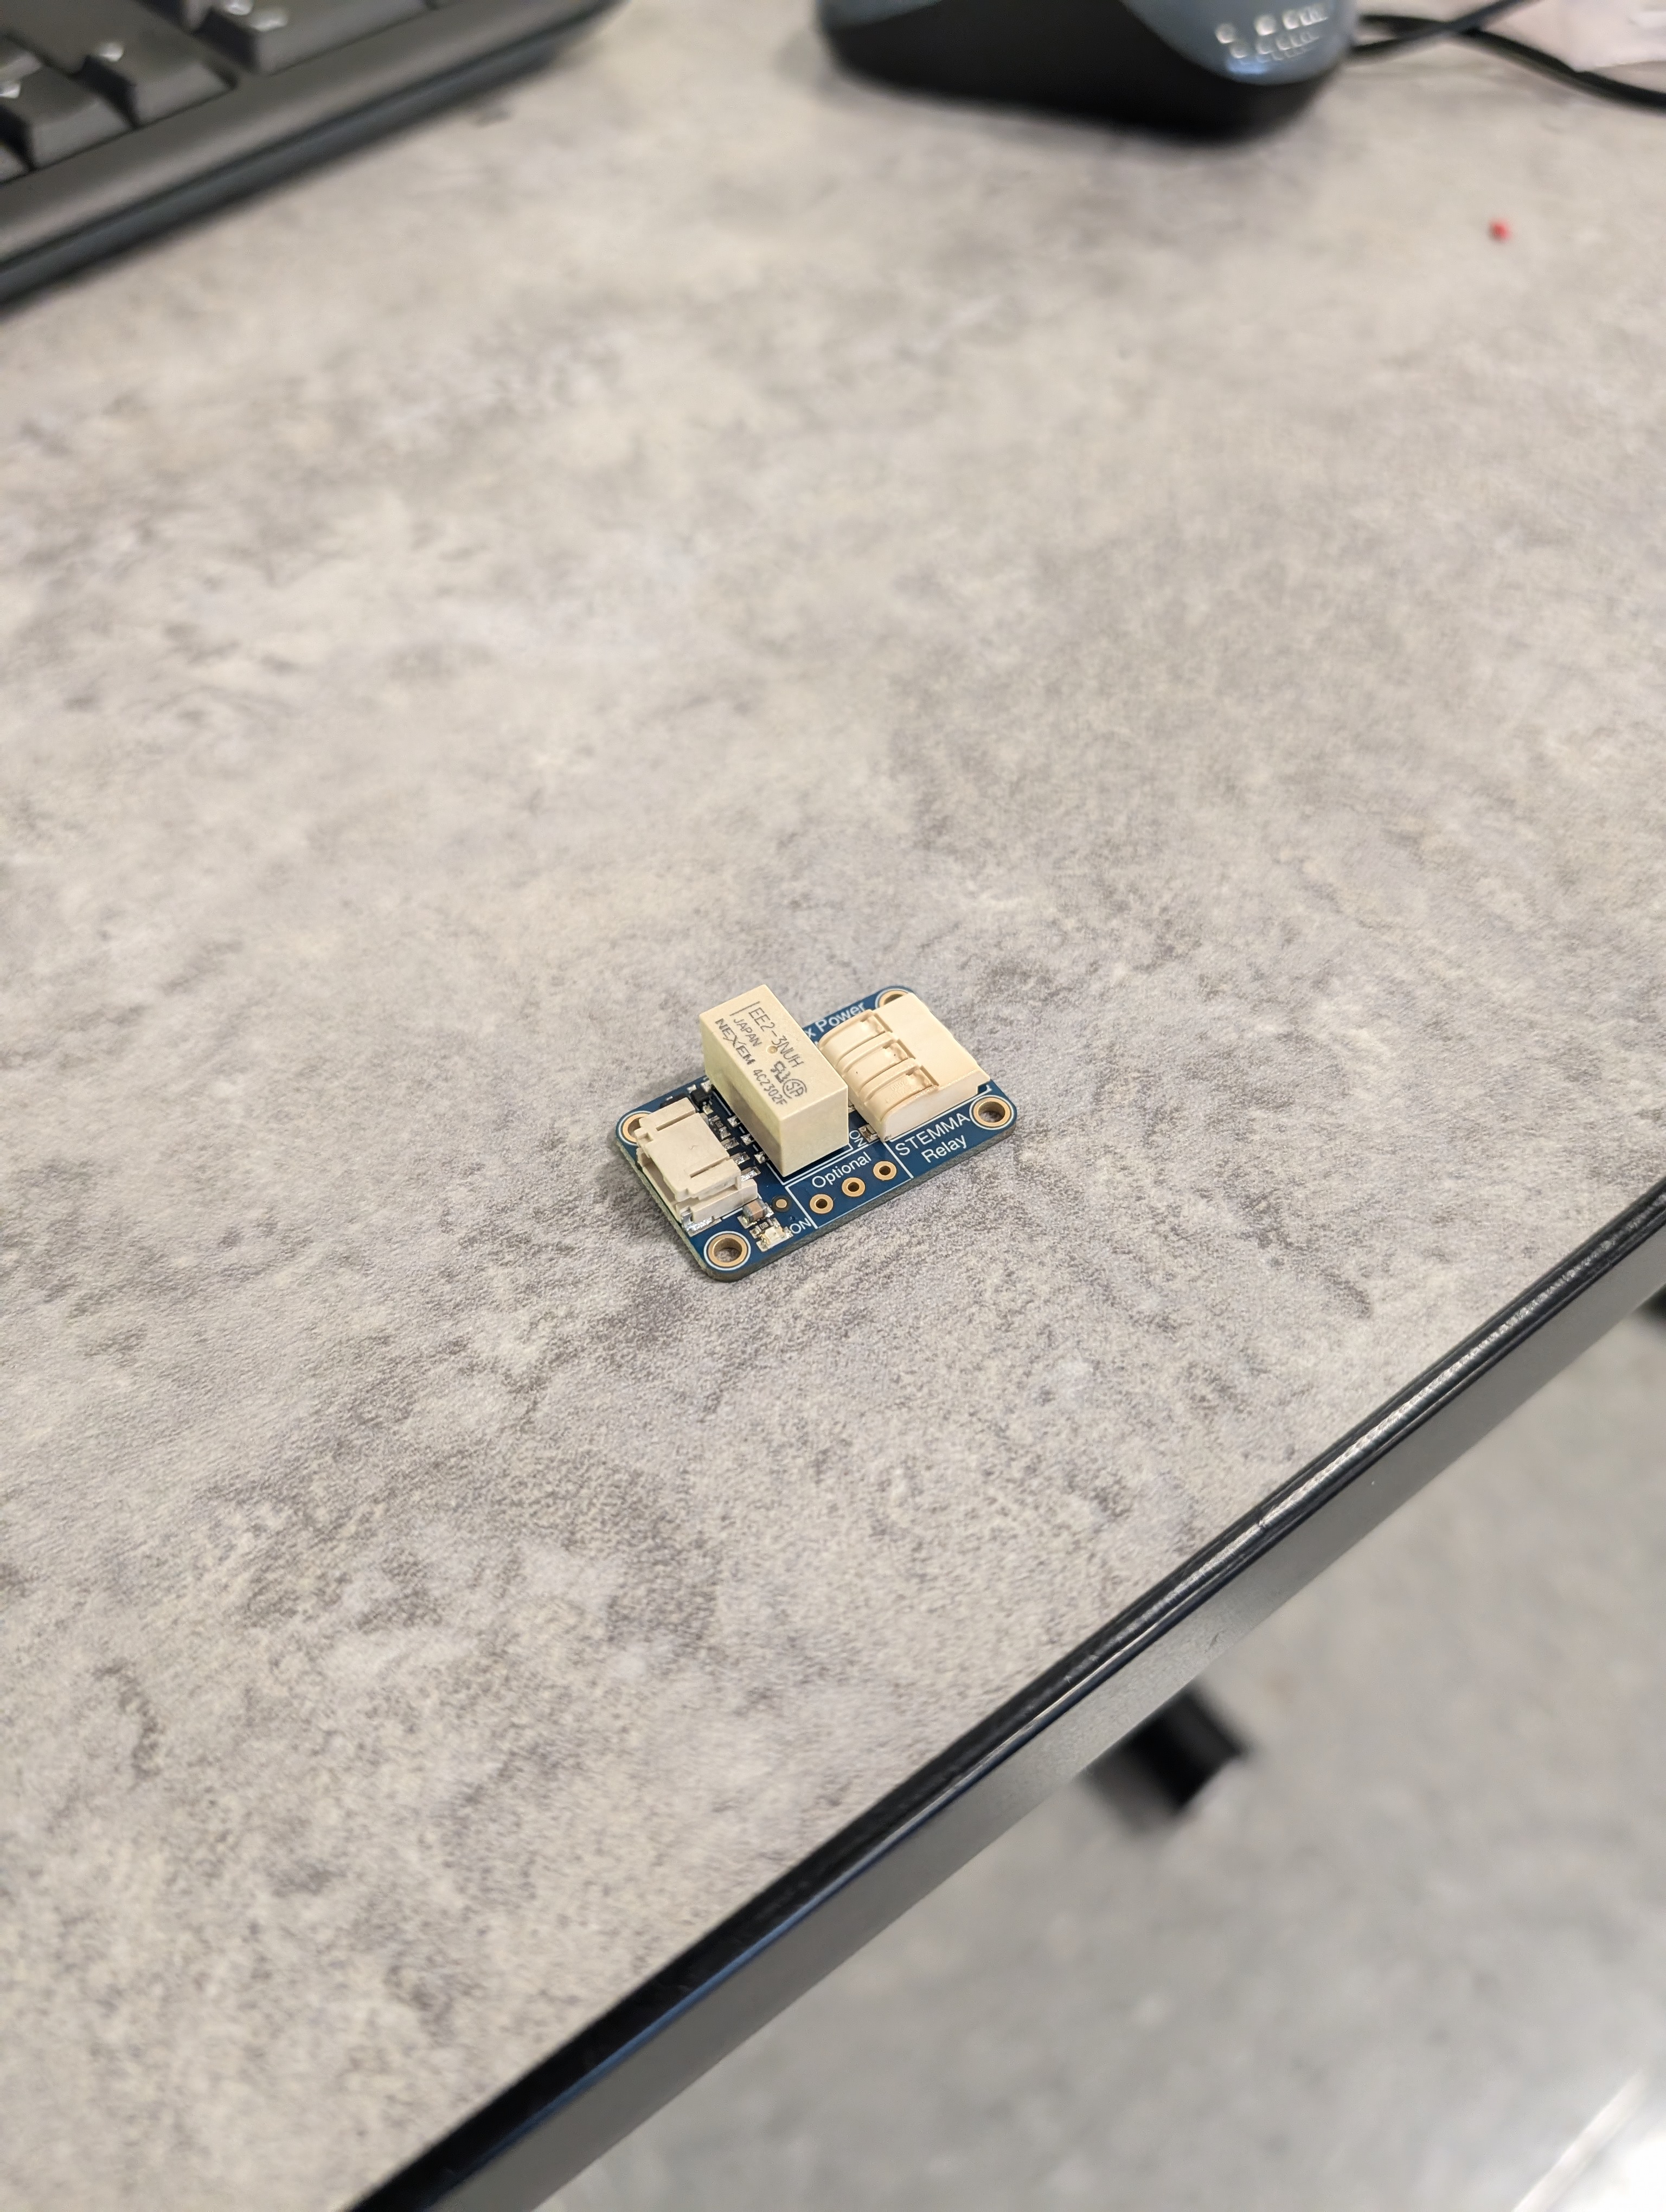
And a power relay
You will also need a power supply, which I might have forgotten to take a picture of.
After gathering these materials, we decided we would just solder all of the components to each other. We looked at the circuit diagram in the article found at the top of the page, but we were having trouble understanding it, and the article didn’t really explain it the best. So, we made our own diagram.
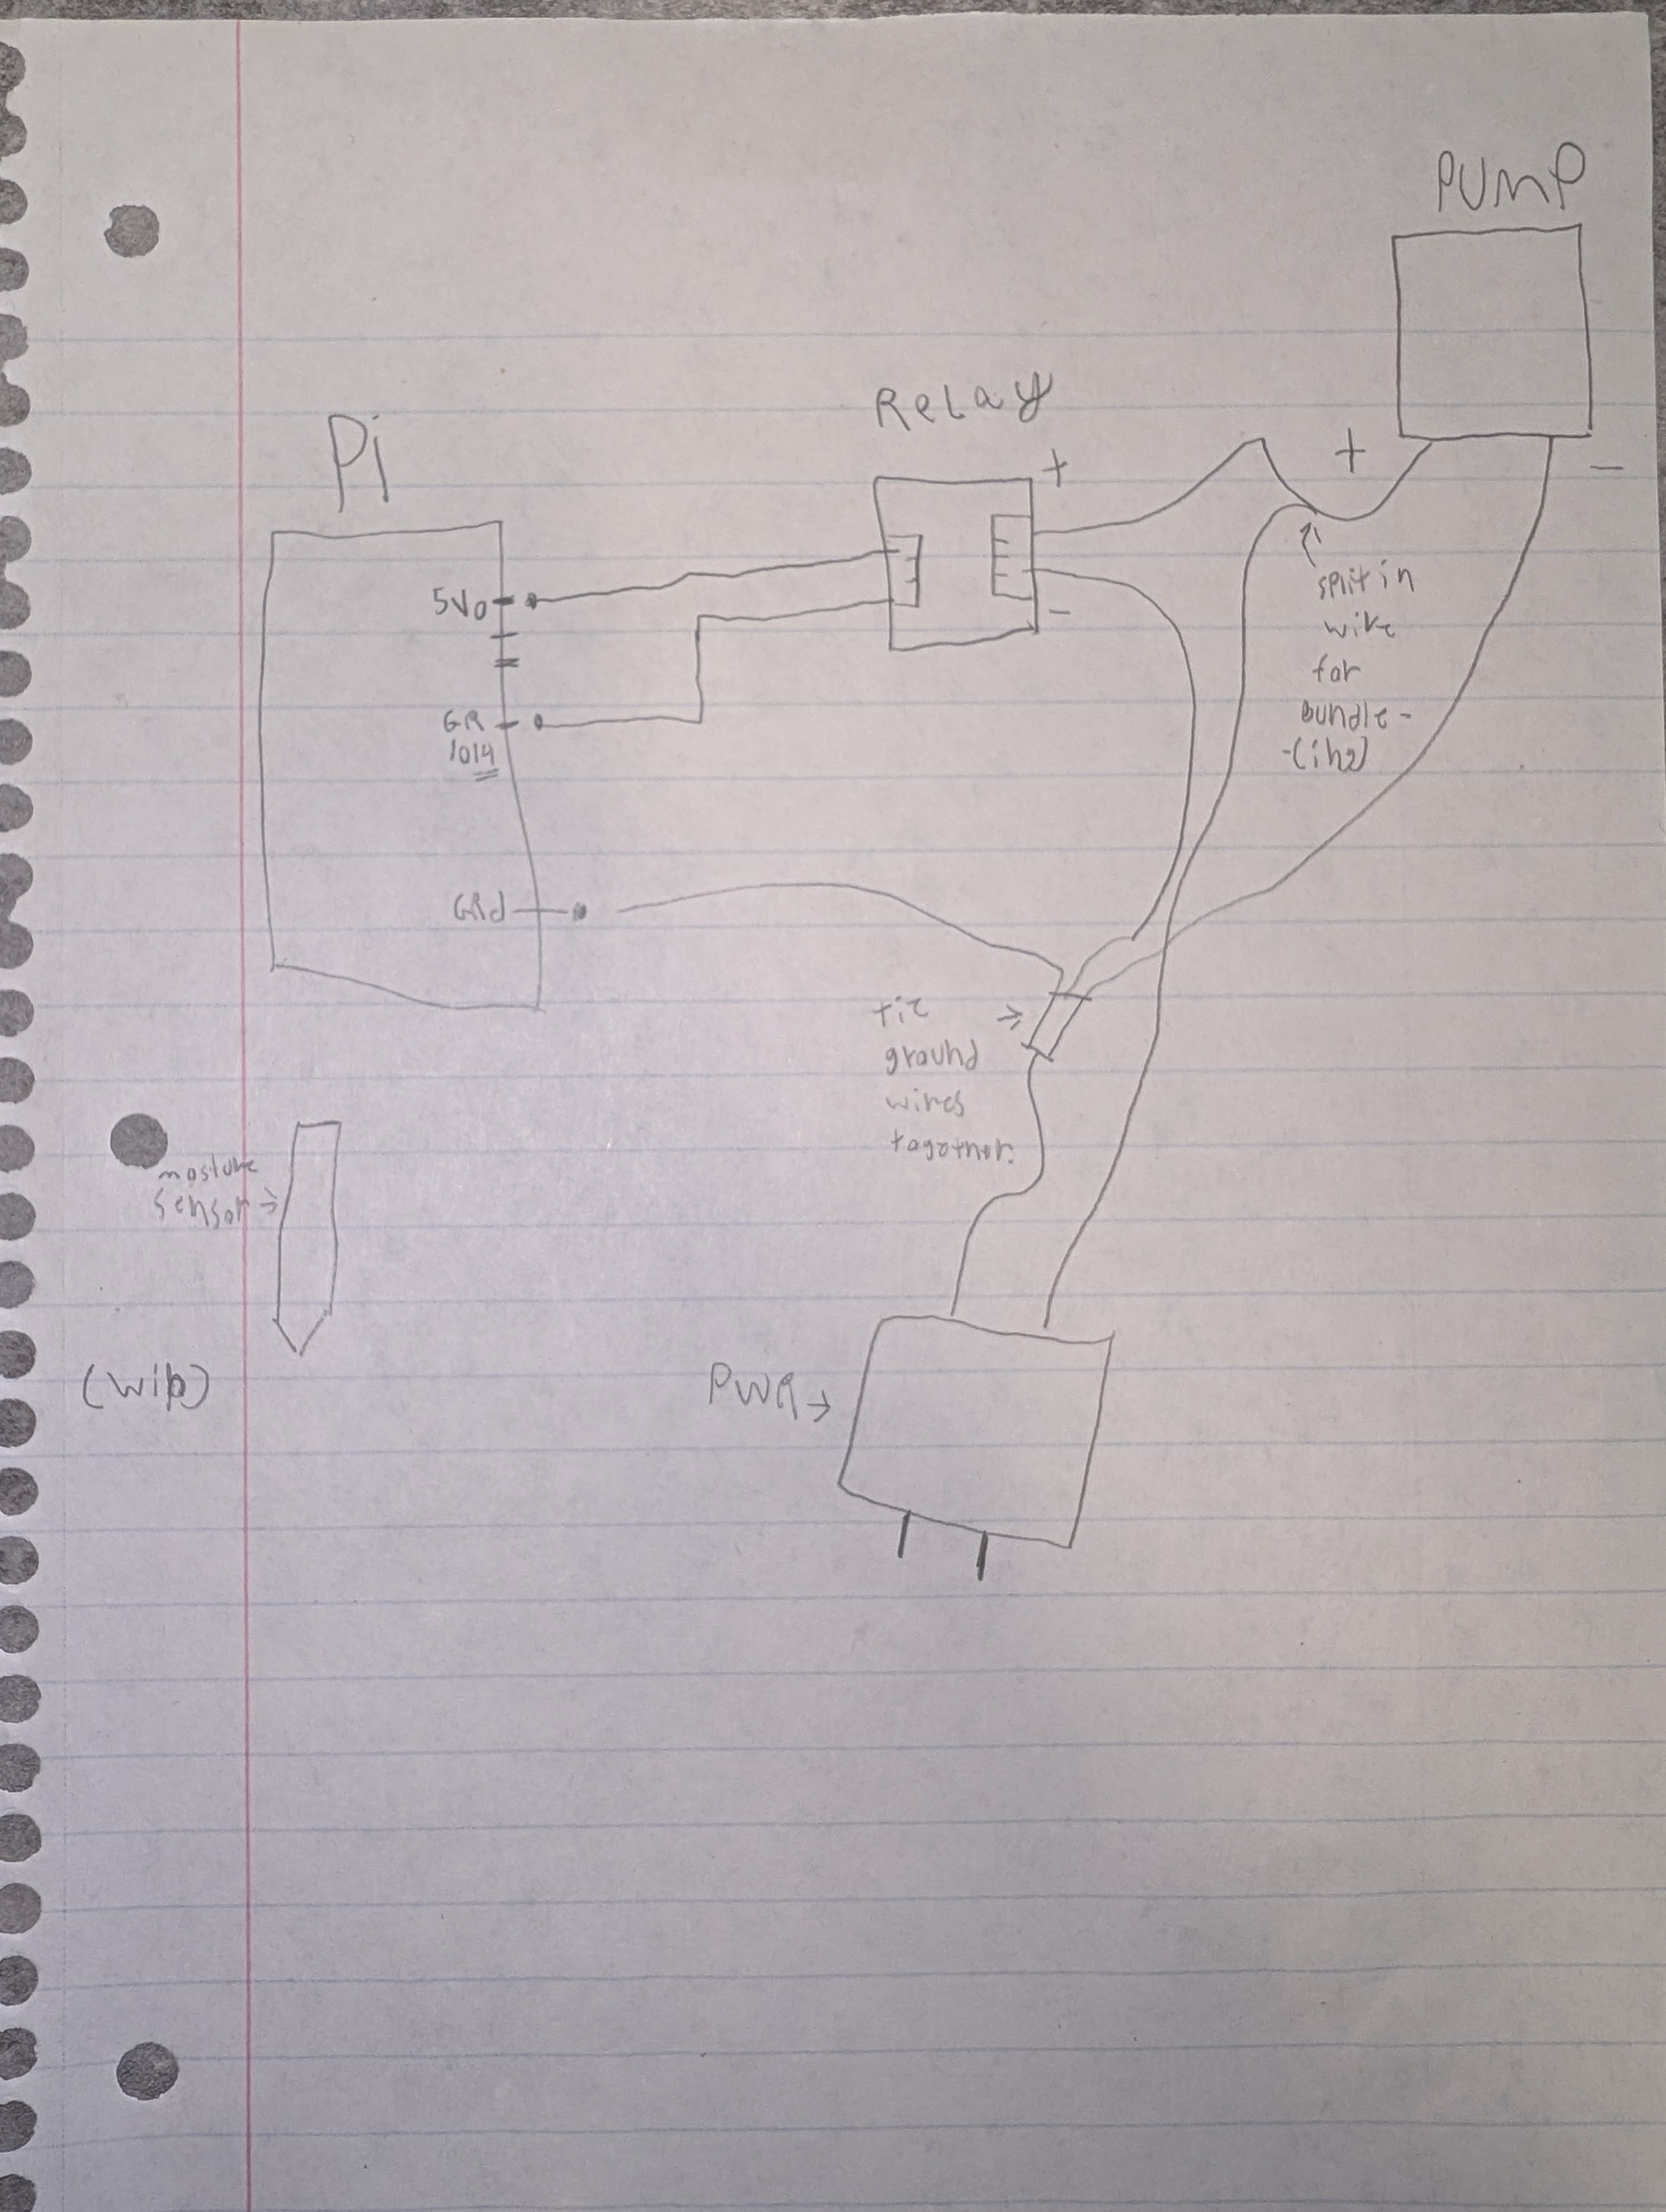
NOTE: When I say we connect the wire together, I mean with electrical tape. DO NOT SOLDER THE WIRES TOGETHER
There will be three wires connected to the PI (four with the moisture sensor). The 5 volt power, which will be connected to the relay. The ground, which I’ll talk more about later. And a data pin, which we used the GPIO 14 pin and will also be connected to the relay(ignore the 10, it’s supposed to just be 14 but there was a typo). The relay will have two wires connected to the output, with the power going to a wire connected to the positive end of the pump, and the ground will be used later. From the power supply, we will cut off the end and take the two sides of the wires, the power end and the ground end. We connect the power end of the power supply wires to the positive end of the pump, so there are three wires connected. Now, we take all of our ground wires, from the pump, relay, and Pi, and connect them to the ground end of the power supply. If any of this explanation is confusing, hopefully the diagram can answer your questions.
And just as we were about to start soldering, we ran out of time. We will start the soldering next class.