In my previous post, I created the blocks and set them up so the player can collide with the blocks. And also make it have animations of each action. In this post, I will draw the entrance door and make it animated. And added a door animation for the player.
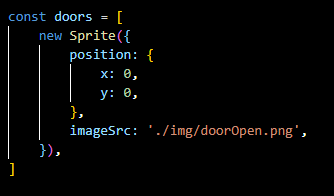
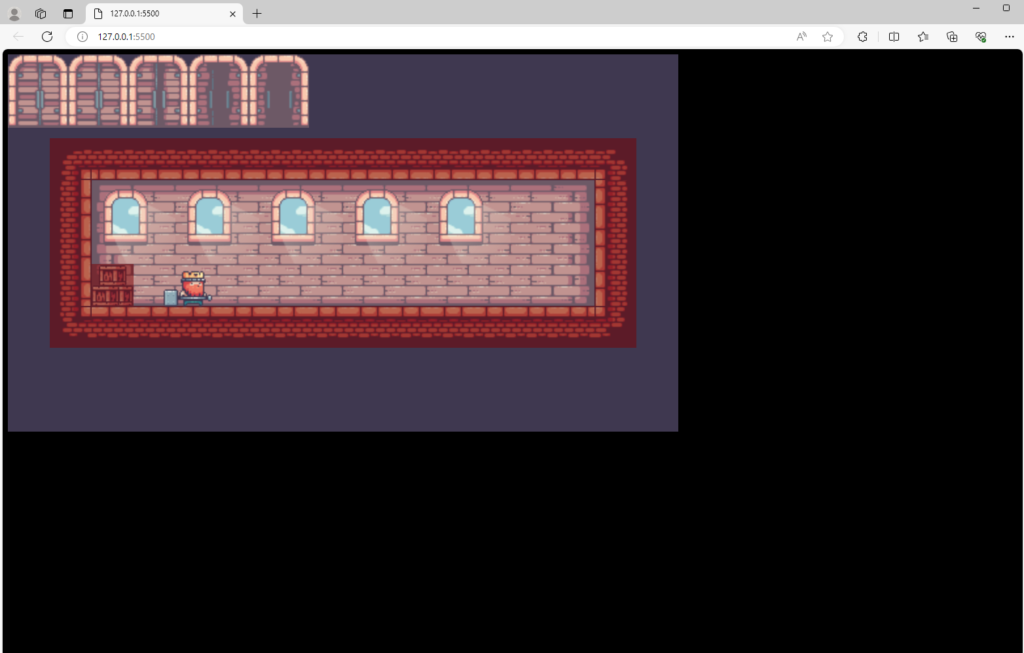
First to draw the door and make the enter door animation for the player, make sure you download the “doorOpen.png” and “enterDoor.png” in Chris Course’s Github. Create an object called “doors” and call the Sprite class inside this object. Door position x, y is 0, and its image source is “./img/doorOpen.png”. And use the forEach() method to draw the doors into the game.

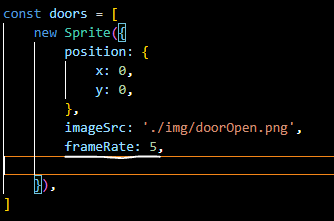
To animate the door, I simply added a frameRate to the “door” object.
After running the code, you can see the animated door below.
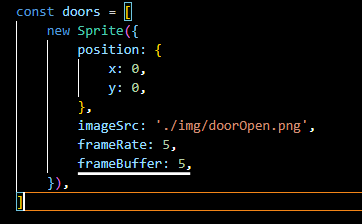
As you can see above, the door animation is too fast. We just need to add frameBuffer to make it animate slower. Same as the frameRate, add the frameBuffer is 5 to the “doors” object. Go to the Sprite class, and add the frameBuffer is 2 and make this.frameBuffer is equal to the frameBuffer.
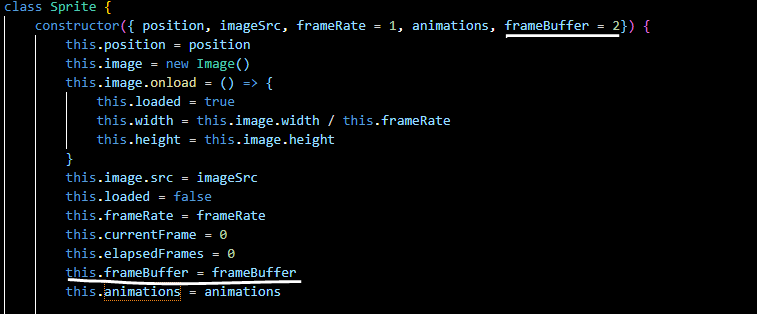
The door animation now is slower.
To make the door not open repeatedly, we only want it to open once. Add the loop is false to the “doors” object, and also add it in the Sprite class same as the frameRate and frameBuffer. And in the updateFrames() function, add an if-else statement to check if the loop is true it will turn back to the first image of the action and its animation can repeat over and over again. But we set the door loop is false, so the door can only open once.
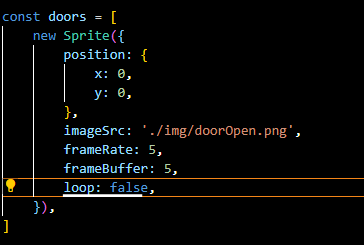
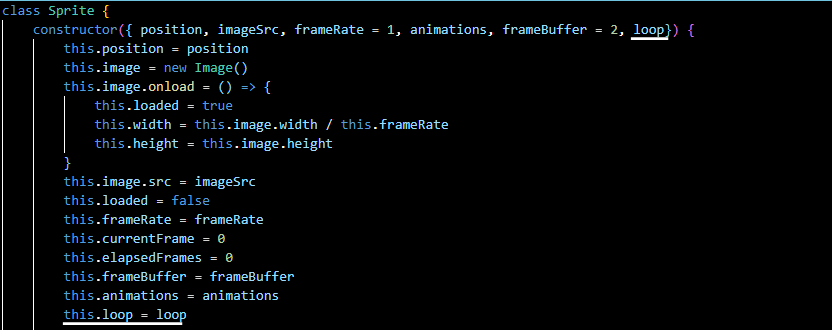

The door is opened once below.
Now we can change the door position. Change its x, y to (767, 270) in the “doors” object.
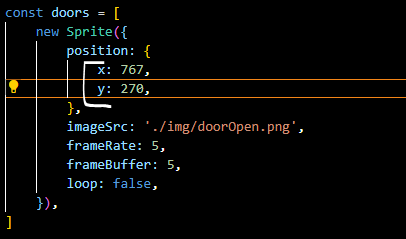
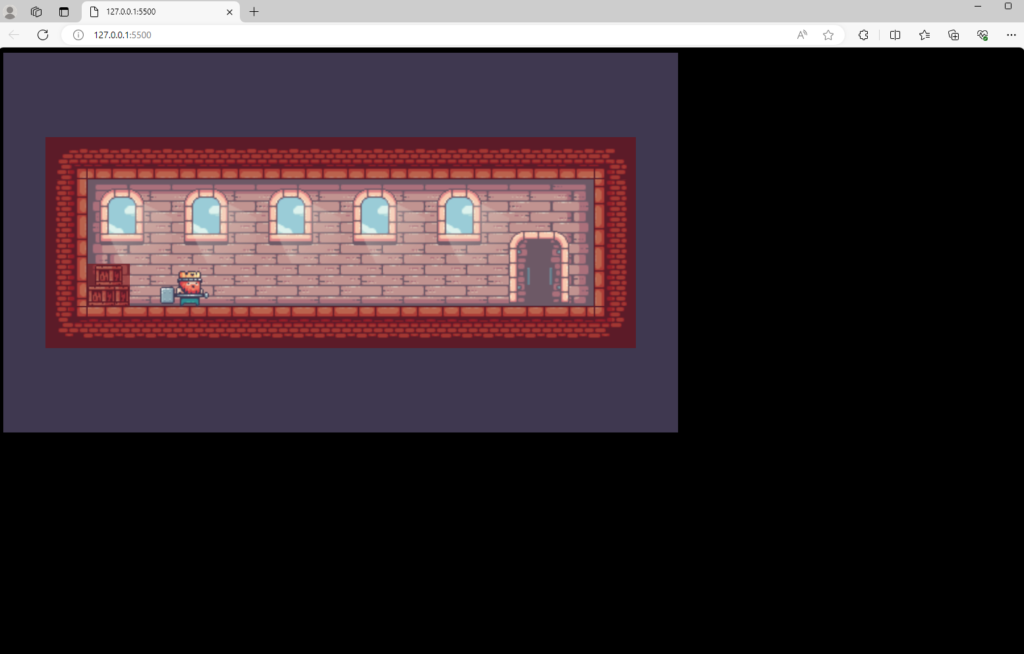
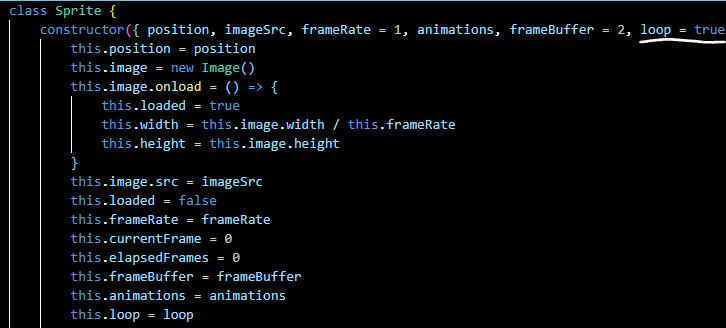
We had an issue that after the door opened once our player animation didn’t repeat. To fix this, just give a default loop equal to true for each of our sprites.
You can see the door is opened once and the player animation is still looping below.
Create autoplay is false and add it the same as frameRate and frameBuffer in Sprite class. And in the updateFrames() function, check if the autoplay is true, make the door open. That means we can use this method to make the door just open when the player is at the door.
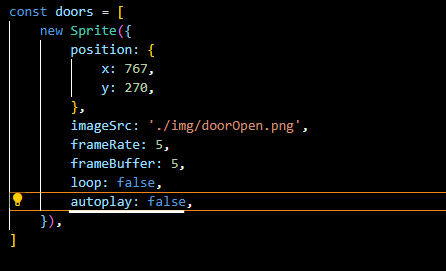
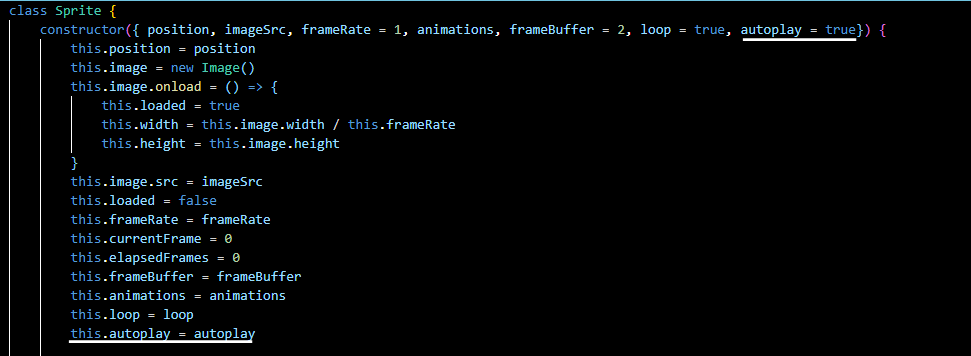

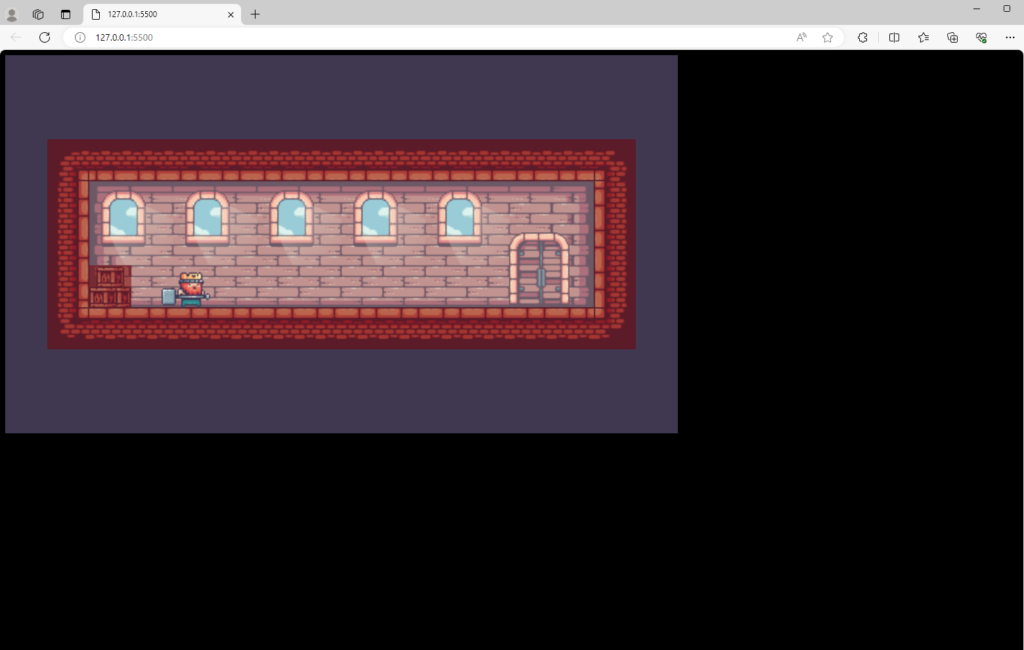
The door is closed now.
Create a function called play(), and make the auto play equal to true.

Go to the “eventListener.js” file, when the keydown is w, write a for loop to loop over the doors. And go to the checkForHorizontalCollisions() function in the “Player.js” file, copy the if-else statement that we check the player is inside the blocks and paste it in the “eventListener.js” file. And change “this” to “player”, and “collisionBlock” to “door”.

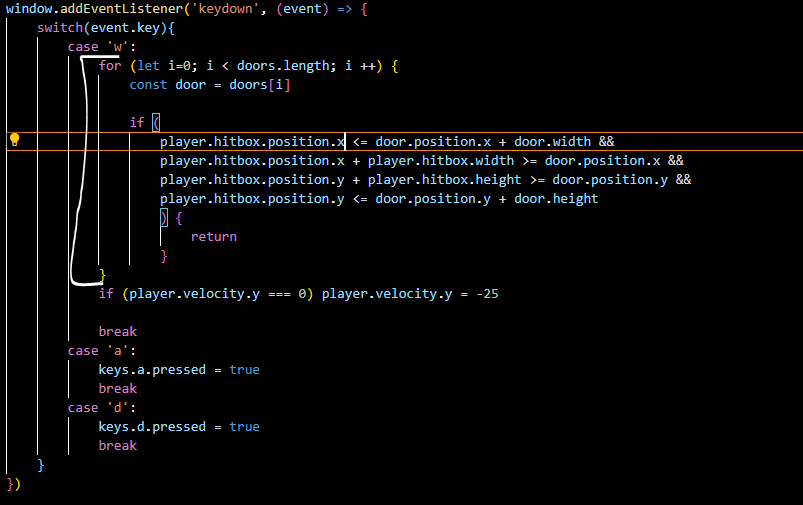
Now the player cannot jump while it is at the door.
But we have a problem that the player cannot jump when it is near the door. Because we check if the x of the hitbox is less than the x of the door plus the width of the door. This is wrong, because the player’s left side is inside the door but the player’s right side can still be outside the door. You can see below.
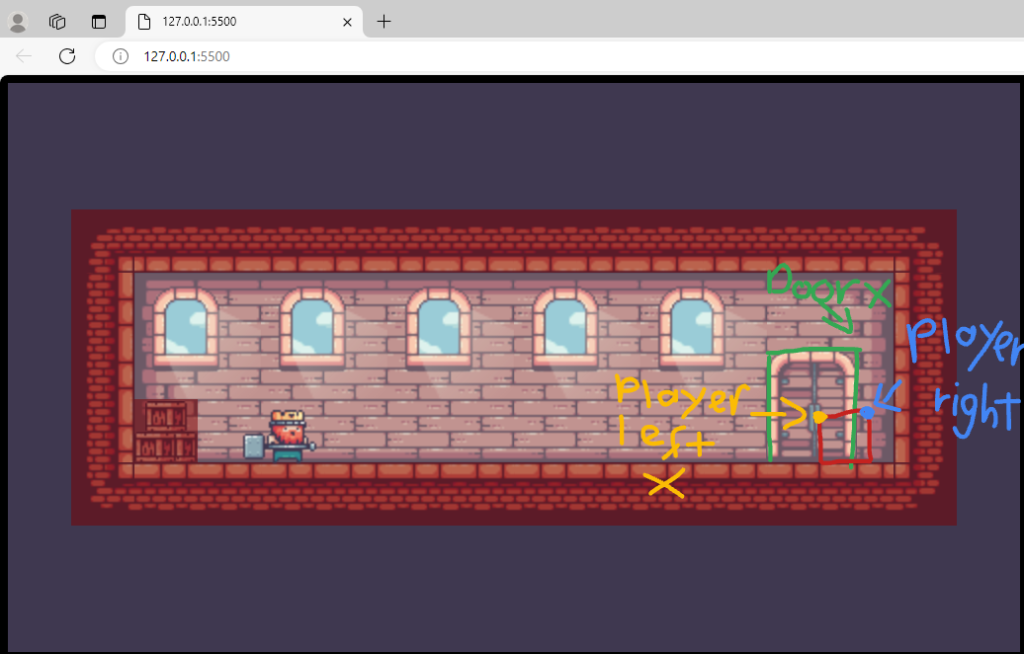
To fix this, add the width of the hitbox with the x of the hitbox is smaller than the x of the door plus the width of the door. That means the right of the player has to be smaller than the right of the door.

And if the x of the hitbox plus hitbox’s width is larger than the x of the door. This is also wrong, because the right side of the player is inside the door but the left side can be outside of the door.
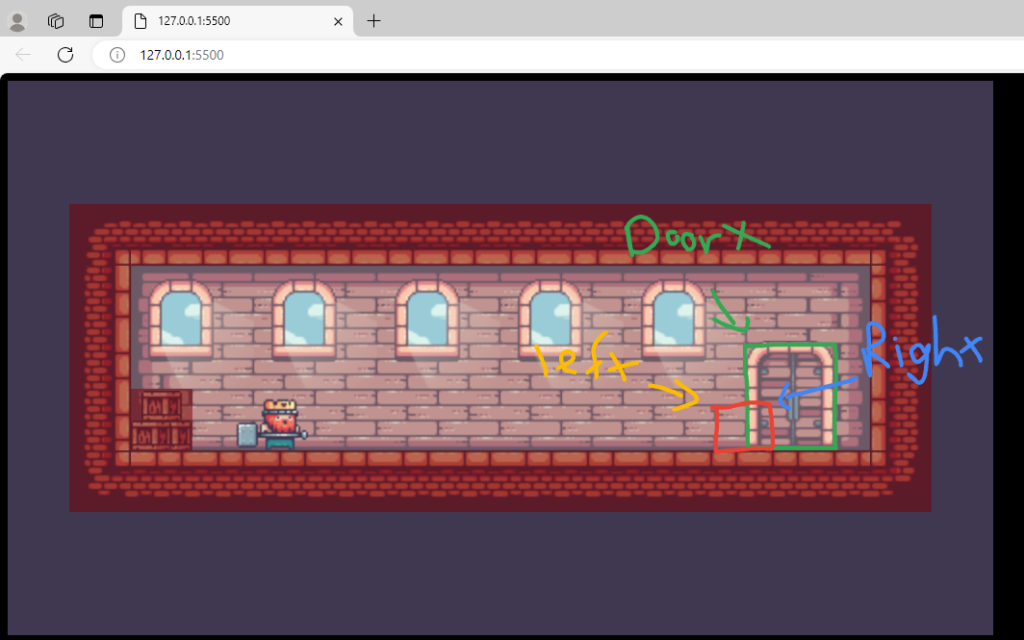
Just check the x of the hitbox is larger than the x of the door. That means the left of the player is larger than the left of the door.

Now our problem is fixed.
To make the player enter the door animation, add one more object called enterDoor, with the frameRate is 8, frameBuffer is 4, loop equal to false, and its image source is “./img/king/enterDoor.png”.
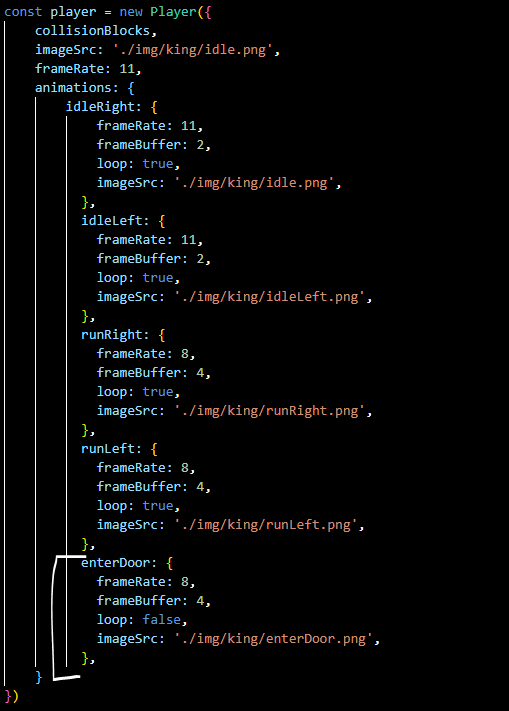
And in the if-else statement check if the player is at the door, the player’s velocity x and y is 0, the preventInput is true, and call the switchSprite() function with the “enterDoor” argument.

In the “index.js” file, add an if-else statement if preventInput is true, then we can call the switchSprite() function to animate each action. And go to the file “Player.js”, create a function called handleInput(), then take all the functions in “index.js” which we call switchSprite() to animate each action into the handleInput() function.
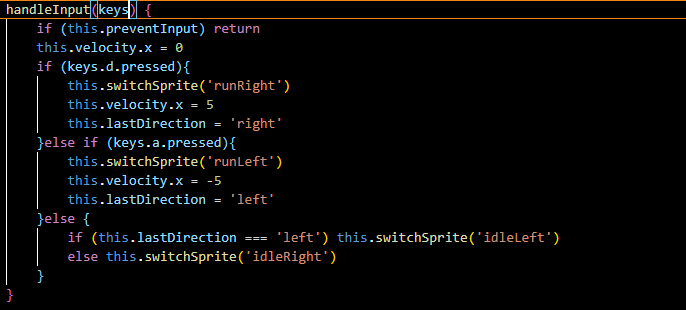
Then call this function in the “index.js” file.

The enter door animation is working now.
Now makes the door open when the player is at the door. Add the loop in the Player class and the super() method. Then in the switchSprite() function, the loop equal to the animations[name].loop. And in the “eventListener.js” file, if the player is at the door, call the play() function. That means the loop is true so the door will open when we click the “w” key.


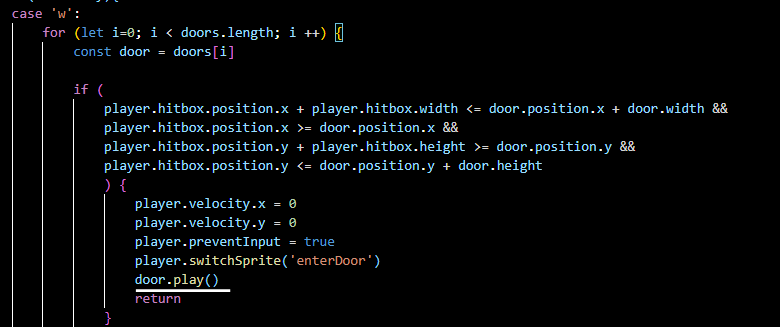
The door opens when the player reaches the door and presses the “w” key.
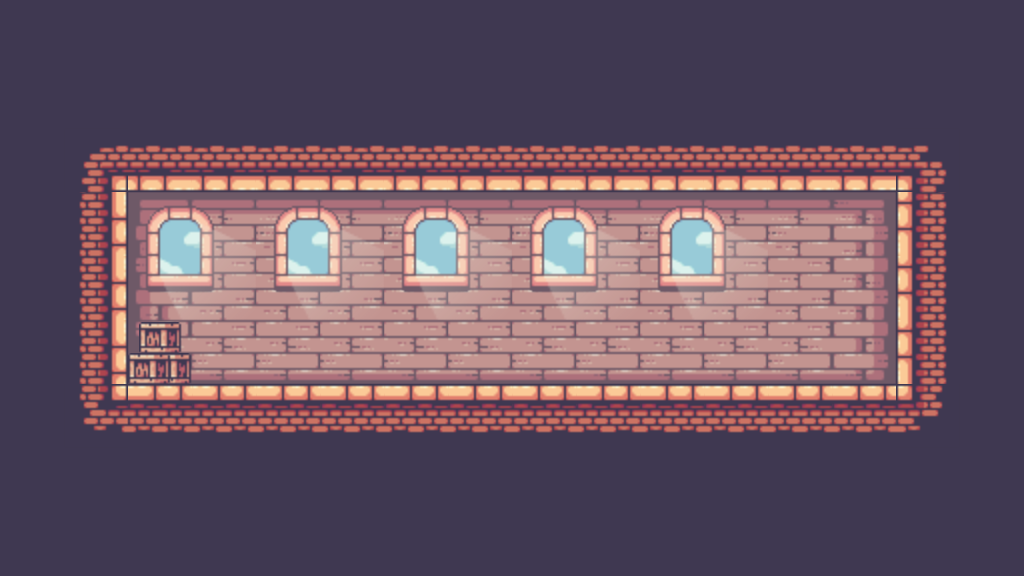
No Responses